Create a PostgreSQL Cluster with StackGres on Kubernetes
Posted by NetworkWhois on
🤯 Picture this: Me, 2 AM, six failed database deployments, three energy drinks, and a mounting sense of despair. That was me before discovering StackGres.
The Pre-StackGres Nightmare
Managing PostgreSQL in Kubernetes used to be like trying to solve a Rubik's cube blindfolded. Complex configurations, manual failover setups, monitoring headaches - it was a developer's worst nightmare.
Then came StackGres - my digital superhero. This Kubernetes Operator is like having a database wizard living inside your cluster, handling all the complex stuff you'd normally lose sleep over.
What Makes StackGres Magical? 🪄
- 📊 Community PostgreSQL versions support
- 🧩 Over 150 Postgres extensions
- 🔄 High availability through Patroni
- 🔒 Automated backups and monitoring
- 🌐 Web console with Single Sign-On
- 🚀 Ability to scale PostgreSQL like a boss
Pro Tip: This isn't just another tool. It's like having a database superhero managing your infrastructure.
Prerequisites: What You'll Need
- ☁️ A K3s cluster (Lightweight Kubernetes - because who needs complexity?)
- 💻
kubectlinstalled (Your Kubernetes Swiss Army knife) - ☕ Coffee (Non-negotiable)
Step 1: Preparing Your K3s Environment
Ensure your K3s cluster is up and running. You can verify this by executing:
kubectl cluster-infoThis command should return information about your cluster, indicating it's ready to go.

Step 2: Installing the StackGres Operator
StackGres operates within your Kubernetes cluster as an operator. To install it, you'll deploy the StackGres operator using a provided YAML file.
kubectl create -f https://stackgres.io/downloads/stackgres-k8s/stackgres/latest/stackgres-operator-demo.ymlThis command fetches and applies a configuration from StackGres's official site, setting up the operator in a new namespace called stackgres.

Step 3: Verifying the Operator Installation
After installation, verify that the StackGres operator is running:
kubectl get pods -n stackgres -l group=stackgres.ioLook for the stackgres-operator and stackgres-restapi pods. If their status is Running, you're all set.

Step 4: Creating Your First PostgreSQL Cluster
With StackGres, you define your PostgreSQL cluster using a custom resource. Here's a simple example to create a single-instance PostgreSQL cluster:
apiVersion: stackgres.io/v1
kind: SGCluster
metadata:
  name: my-first-cluster
spec:
  instances: 1
  postgres:
    version: 'latest'
  pods:
    persistentVolume:
      size: '5Gi'
Save this configuration to a file (e.g., my-cluster.yml) and apply it using kubectl:
kubectl create -f my-cluster.ymlThis command creates a new PostgreSQL cluster named my-first-cluster, running the latest PostgreSQL version and configured with a single instance and 5Gi of persistent storage.

Step 5: Monitoring Cluster Creation
Track the progress of your cluster's deployment using:
kubectl get pods --watch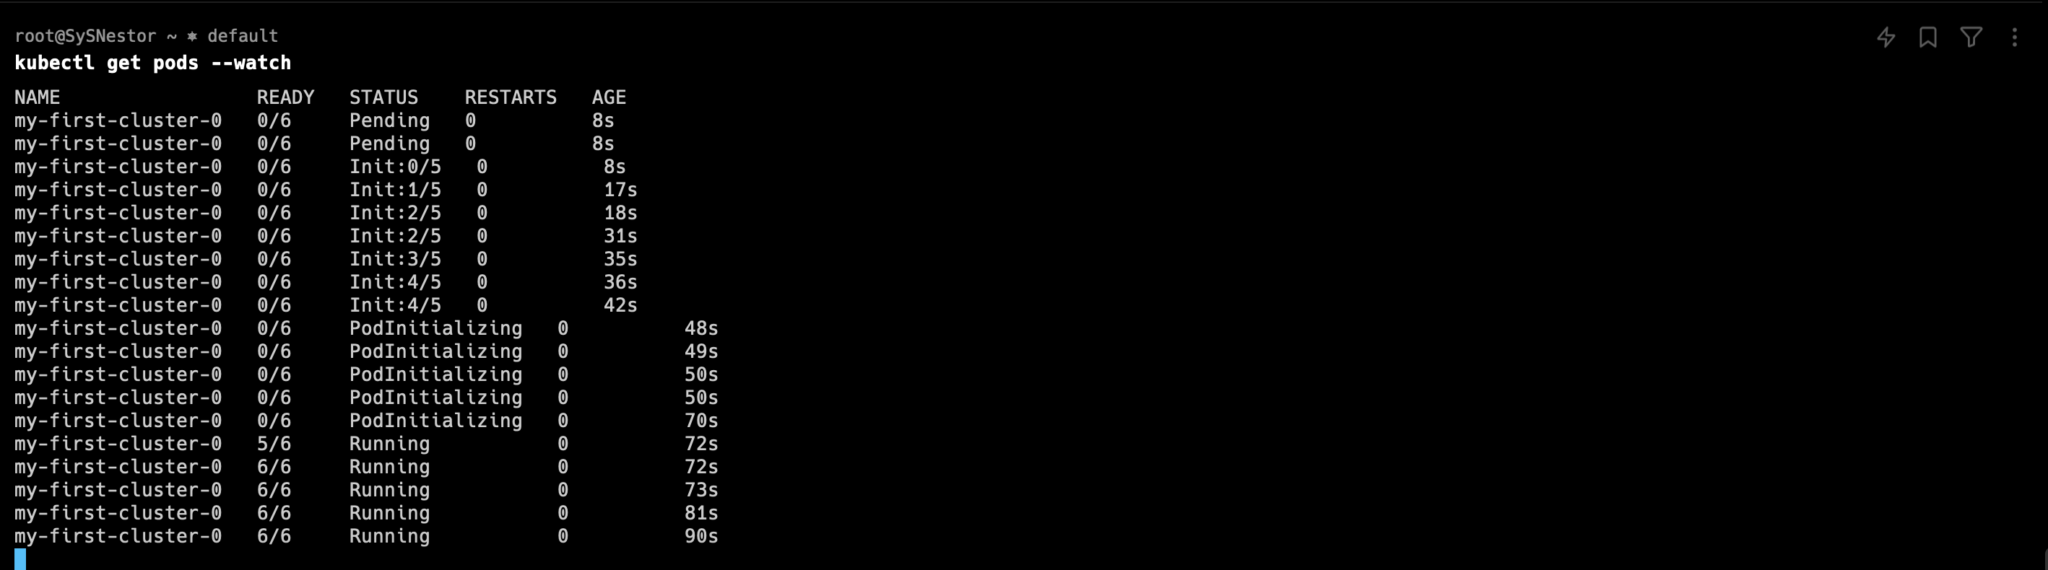
Wait for your cluster's pod (e.g., my-first-cluster-0) to reach the Running state. This indicates that your PostgreSQL cluster is up and ready.
Step 6: Accessing Your PostgreSQL Cluster
Accessing your newly created PostgreSQL cluster is straightforward. StackGres provides a utility container for interacting with your database. Here's how you can connect:
kubectl exec -ti "$(kubectl get pod --selector app=StackGresCluster,stackgres.io/cluster=true,role=master -o name)" -c postgres-util -- psql
This command opens a psql console connected to your PostgreSQL cluster, allowing you to execute SQL commands directly.
Step 7: Exposing the Service
Kubernetes services are typically only reachable from within the cluster by default. To access your PostgreSQL database from outside the Kubernetes cluster (such as from a browser on your VPS), you would need to expose it via a LoadBalancer or NodePort service.
If the StackGres Web Console is not already exposed via a NodePort, you will need to expose it. You can do this by creating or modifying a Kubernetes service of type NodePort for the Web Console. Here's an example:
apiVersion: v1
kind: Service
metadata:
  name: stackgres-ui-nodeport
spec:
  type: NodePort
  ports:
    - port: 80
      targetPort: 8080
      nodePort: 30007
  selector:
app: stackgres-uiportis the port number on which the service will listen inside the cluster.targetPortis the port on which the StackGres Web Console container is running.nodePortis the port on which you'll access the Web Console from outside the Kubernetes cluster.
Apply this service configuration using kubectl apply -f <filename>.yaml.
Converting LoadBalancer Service to NodePort
You might need to edit the existing stackgres-restapi service to change its type to NodePort, or delete and recreate it with the NodePort configuration.
Edit the service:
kubectl edit svc stackgres-restapi -n stackgresIn the editor, change type: LoadBalancer to type: NodePort, and optionally specify a nodePort value.
Access the Service: Once the service is exposed as a NodePort, you can access it using the IP address of any node in your cluster along with the assigned NodePort. If you didn’t specify a nodePort, you can find out which port was assigned by describing the service:
kubectl get svc stackgres-restapi -n stackgresLook for the PORT(S) information, which will now include the NodePort assigned to your service.
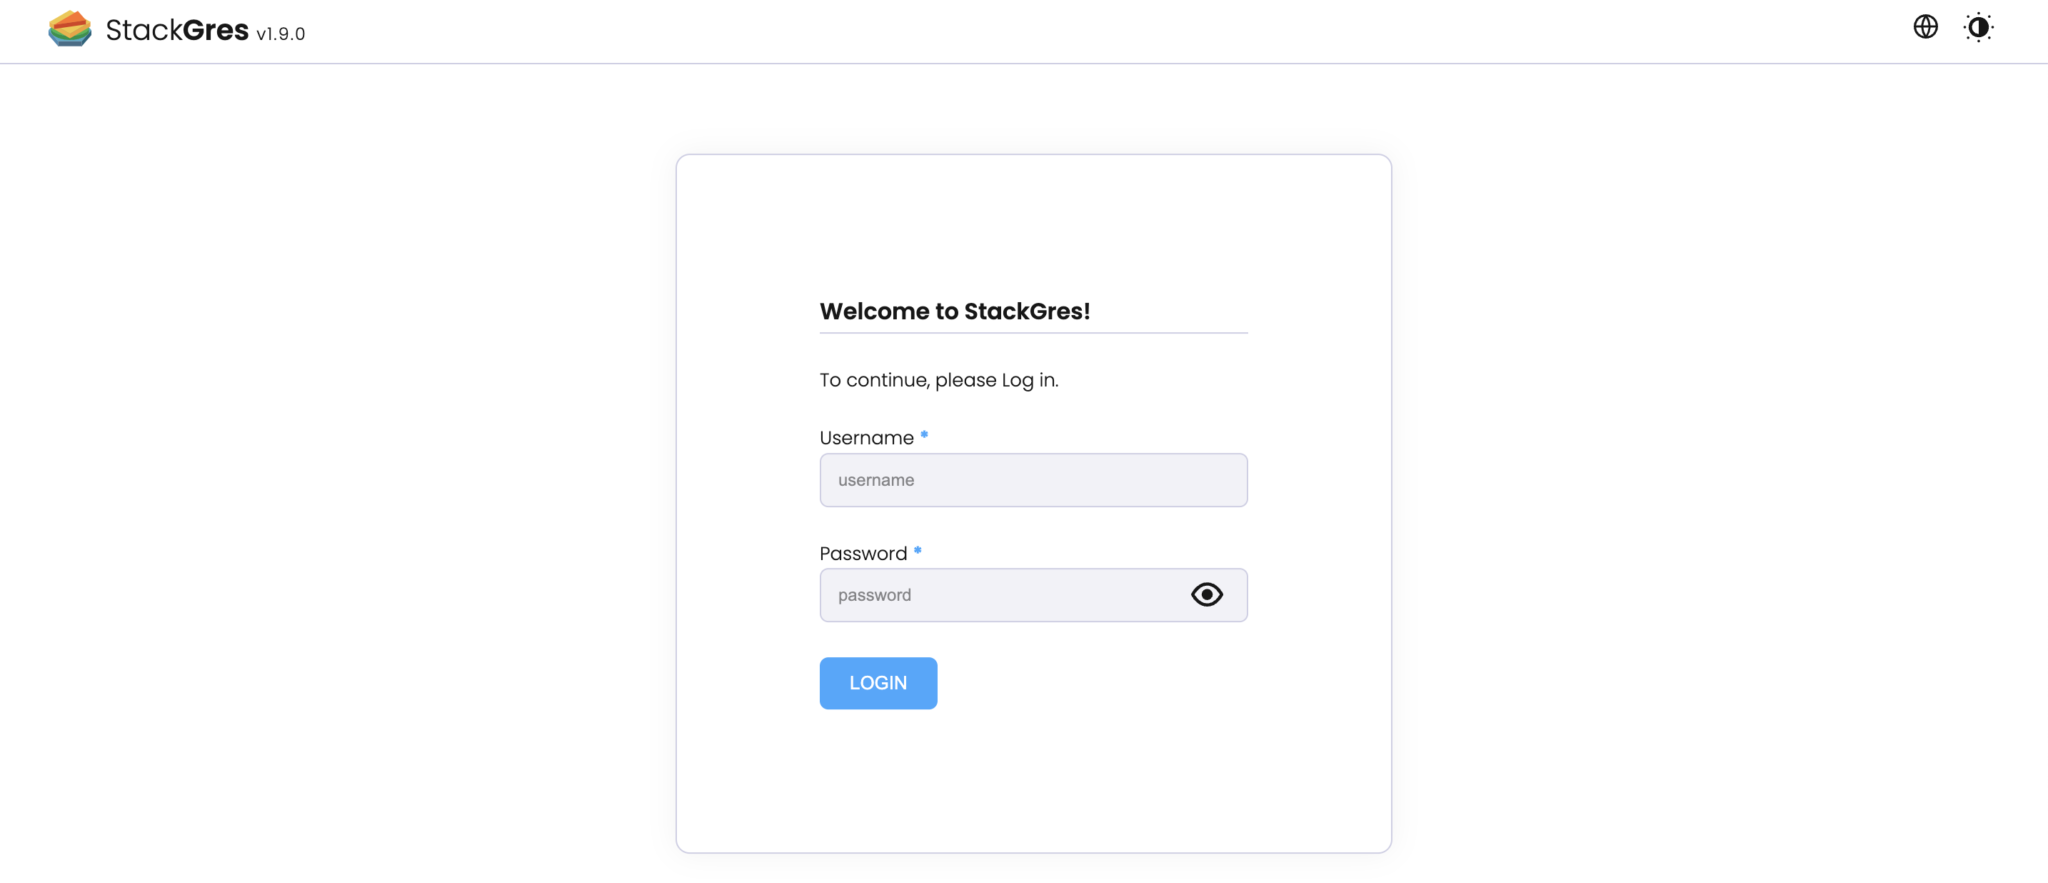
To access the StackGres Web Console, open a web browser and navigate to your IP and the given port.
CHANGING THE UI PASSWORD
You can use the command below to change the password:
NEW_USER=admin
NEW_PASSWORD=password
kubectl create secret generic -n stackgres stackgres-restapi-admin  --dry-run=client -o json \
  --from-literal=k8sUsername="$NEW_USER" \
  --from-literal=password="$(echo -n "${NEW_USER}${NEW_PASSWORD}"| sha256sum | awk '{ print $1 }' )" > password.patch

kubectl patch secret -n stackgres stackgres-restapi-admin -p "$(cat password.patch)" && rm password.patch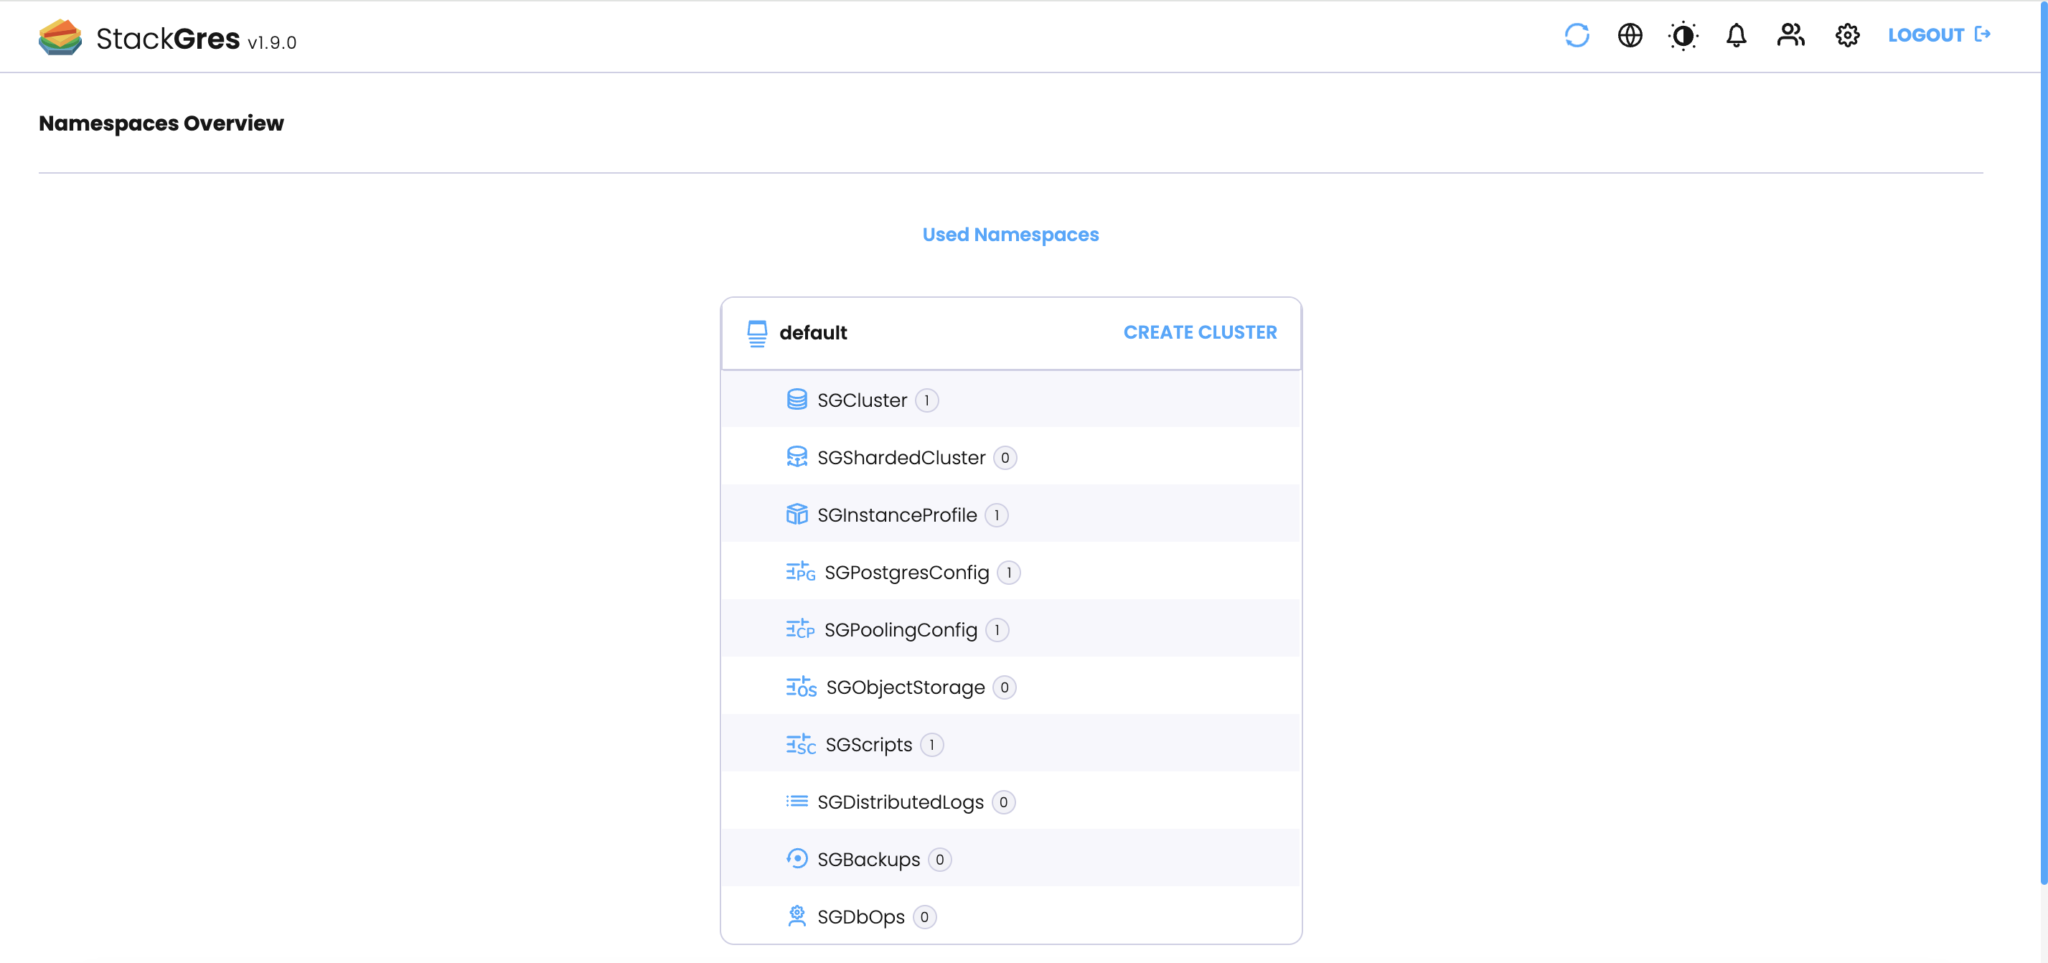
Now that you have a running PostgreSQL cluster, explore further. StackGres offers extensive features such as automatic backups, high availability configurations, and detailed monitoring. Deploying a PostgreSQL cluster on a K3s environment using StackGres doesn't have to be complicated. By following this step-by-step guide, even beginners can set up a