Deploy Kubecost on Kubernetes Using K3s
Posted by NetworkWhois on
A few months ago, I got the shocking news that our Kubernetes costs had spiraled out of control. Sound familiar? That's when I discovered Kubecost, and it's been a game-changer for our team. Today, I'm sharing how I got it up and running on our K3s cluster, along with all the things I wish someone had told me when I started.
Here's a quick win to motivate you: within the first week of using Kubecost, we identified and eliminated unnecessary resources that were costing us nearly $200 a month. Who doesn't love finding free money?
Why K3s and Kubecost?
First, let me explain why I chose this particular setup. K3s is like Kubernetes' lighter, faster cousin. It does everything we need without the bloat. As for Kubecost - well, if you've ever tried to figure out why your Kubernetes bill is so high, you'll understand the appeal of having a tool that breaks down costs by pod, namespace, and service.
What You'll Need to Get Started
Reality Check: While the official docs say you need 2GB RAM, I'd recommend at least 4GB if you want things to run smoothly. Trust me on this one - I learned it the hard way when our metrics started dropping during peak hours.Here's your shopping list:
- A machine with 4GB RAM (yes, you can do it with 2GB, but you won't be happy)
- 20GB of disk space (more if you plan to store historical data)
- Ubuntu 20.04 LTS or similar (I'm using Ubuntu because it's stable and well-supported)
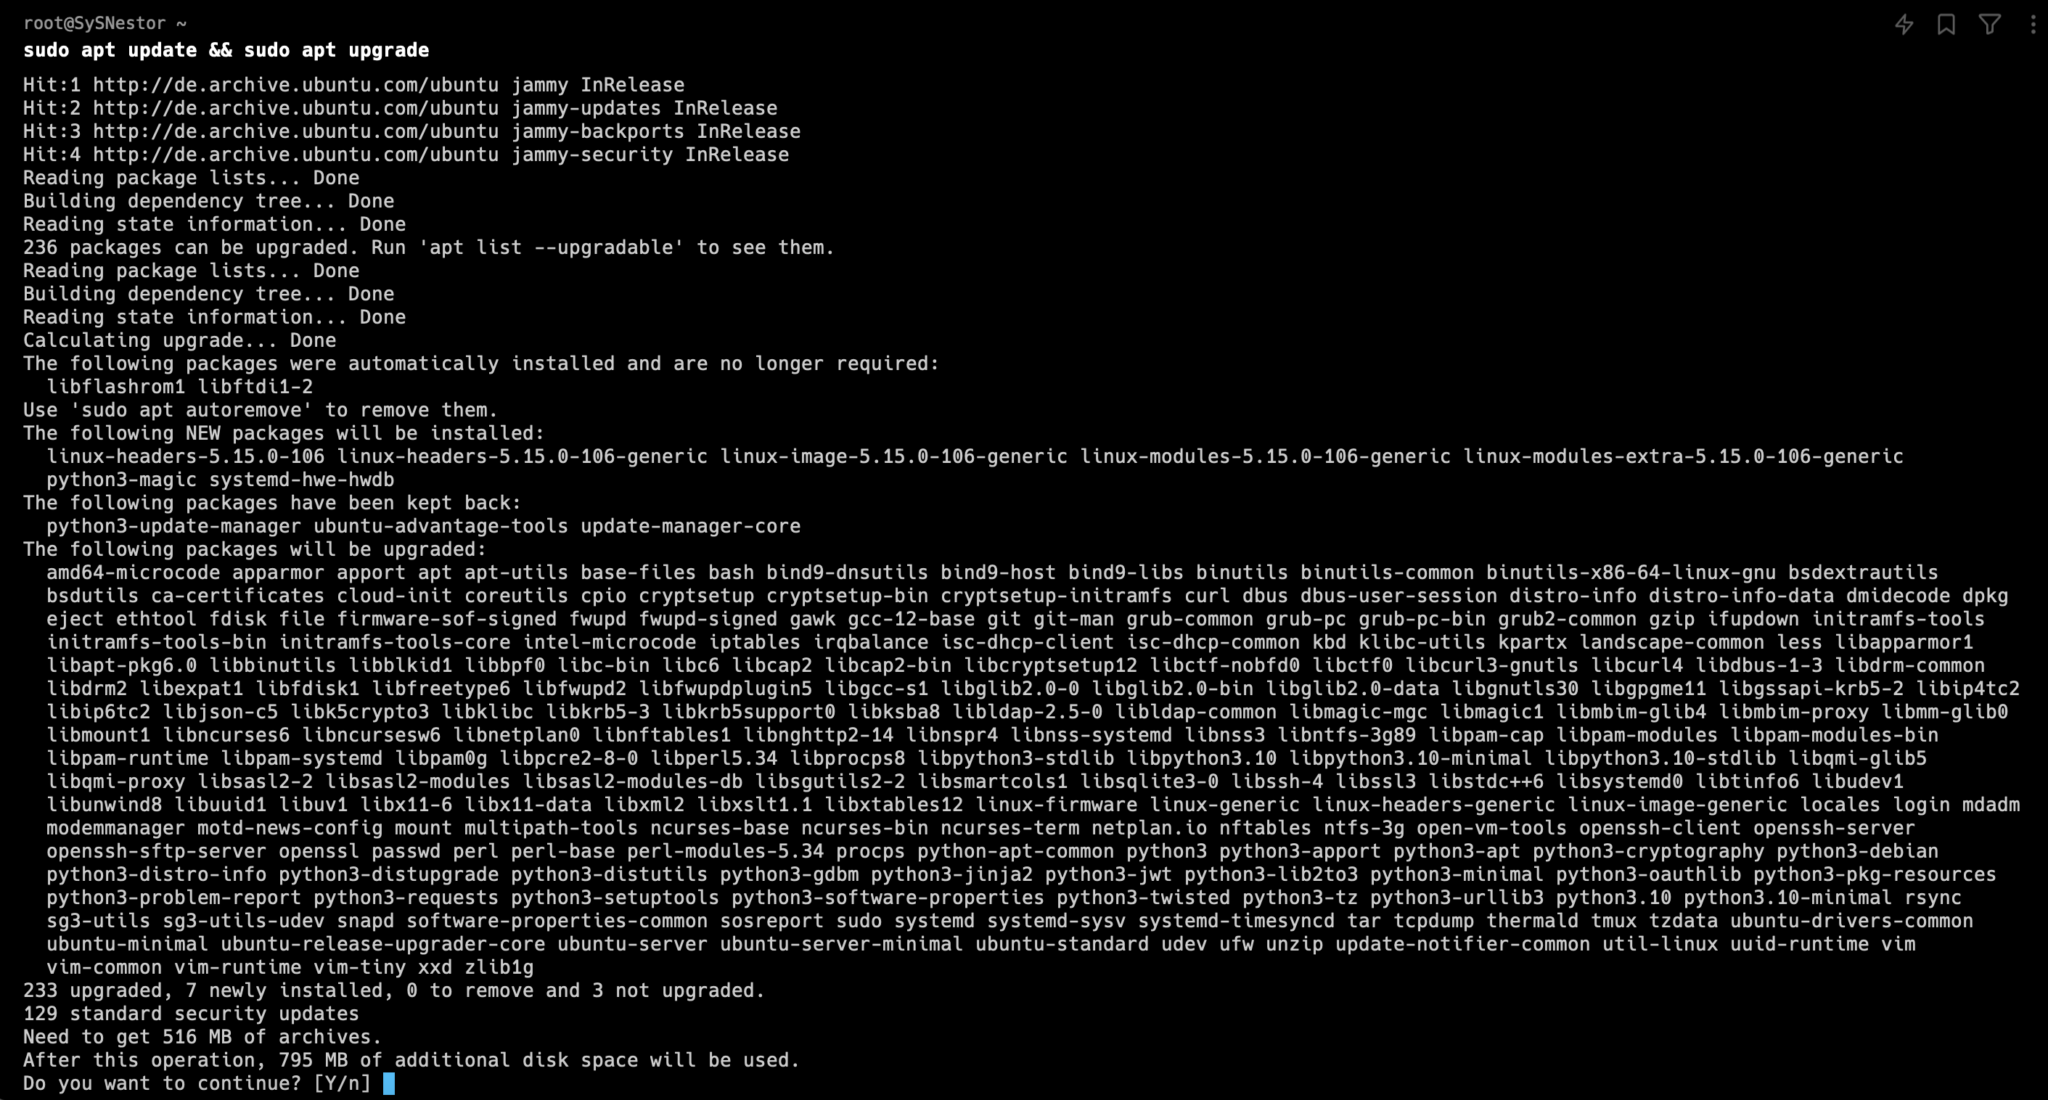
First things first, let's update your system:
sudo apt update && sudo apt upgrade
Setting Up K3s - The Foundation
K3s installation is surprisingly straightforward. Here's what worked for me:
curl -sfL https://get.k3s.io | sh -
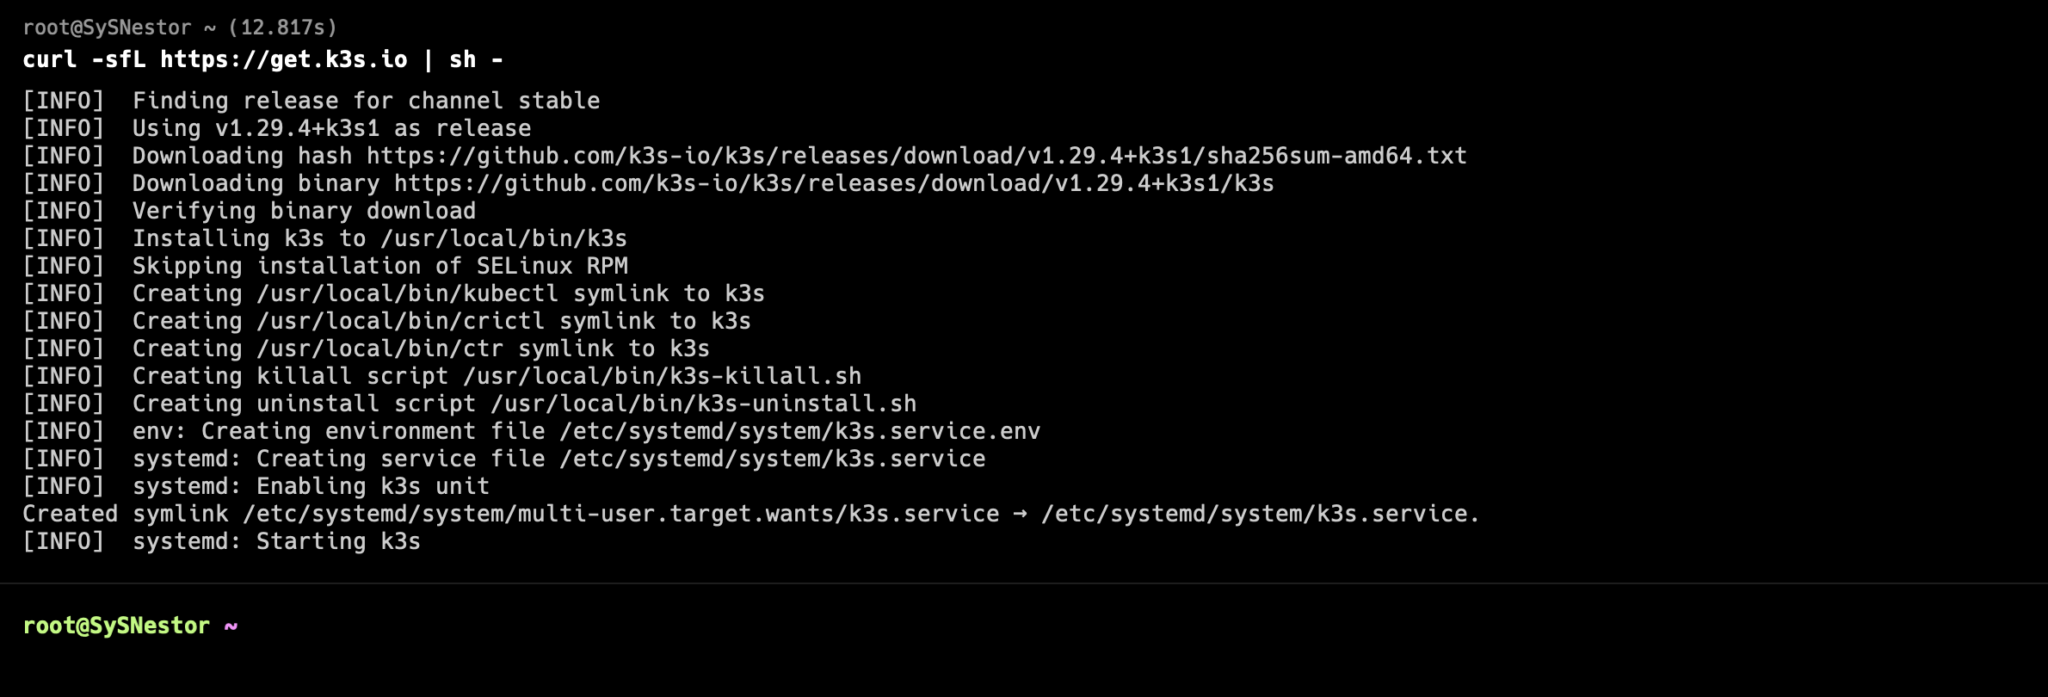 Heads Up! After running this command, give it a minute to fully initialize. I made the mistake of rushing to the next step and ended up troubleshooting nonexistent problems.
Set up your kubeconfig file (you'll need this for everything that follows):
sudo cp /etc/rancher/k3s/k3s.yaml ~/.kube/config
sudo chown $(id -u):$(id -g) ~/.kube/config
Check if everything's running:
sudo k3s kubectl get node

Getting Helm Ready
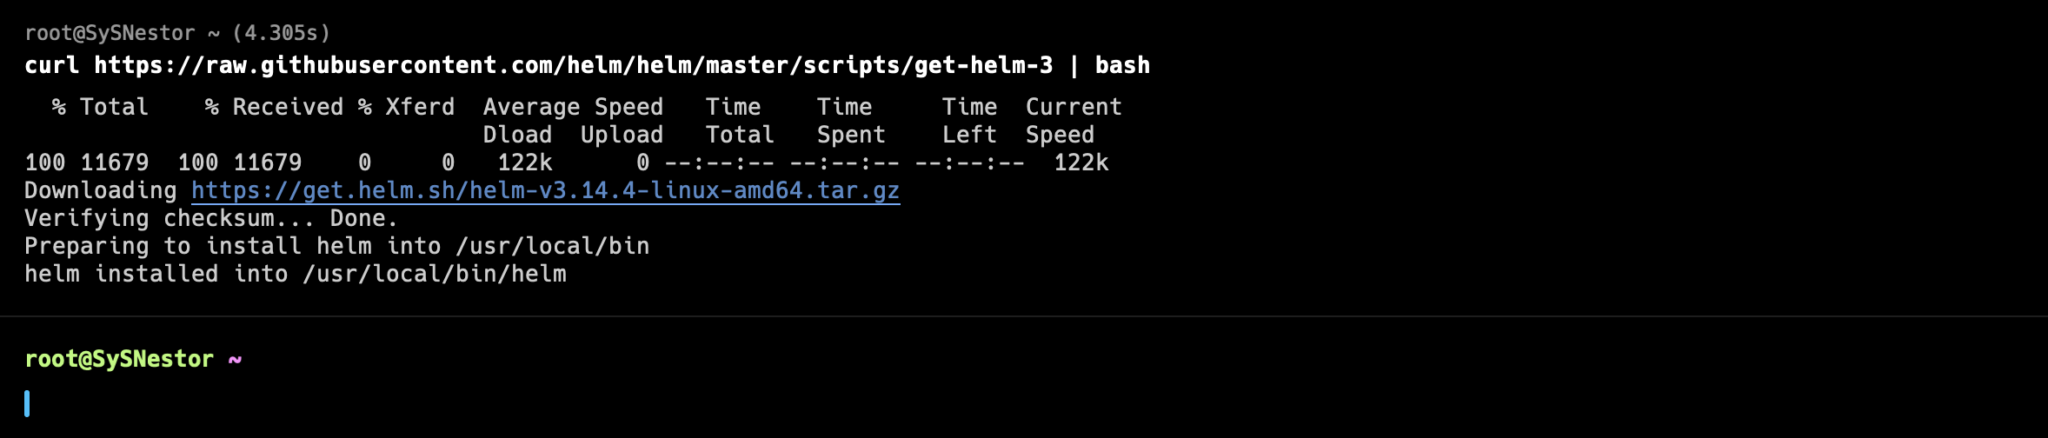
Helm makes installing Kubecost a breeze. Here's how to get it:
curl https://raw.githubusercontent.com/helm/helm/master/scripts/get-helm-3 | bash
 Pro Tip: Always verify your Helm installation with
 helm version. It'll save you from mysterious errors later on.
The Main Event - Installing Kubecost
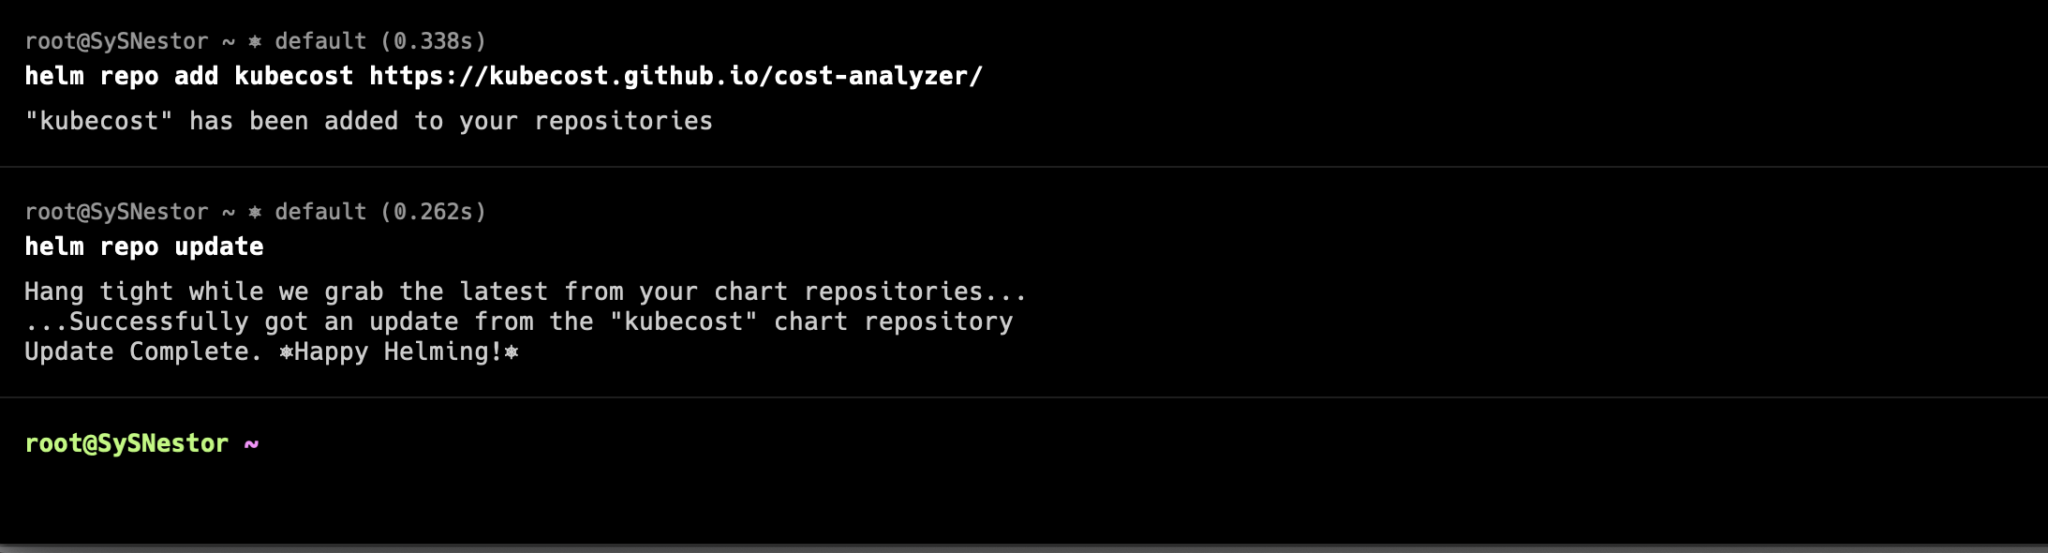
First, let's add the Kubecost repository to Helm:
helm repo add kubecost https://kubecost.github.io/cost-analyzer/
helm repo update
Before we continue, a quick story: I initially tried to deploy Kubecost without getting a token first. Spent an hour wondering why things weren't working properly. Don't be like me - get your token first!
Head over to Kubecost's website and grab your token. It's free, and it'll give you access to their basic features.
Now for the actual installation (replace YOUR_KUBECOST_TOKEN with your actual token):
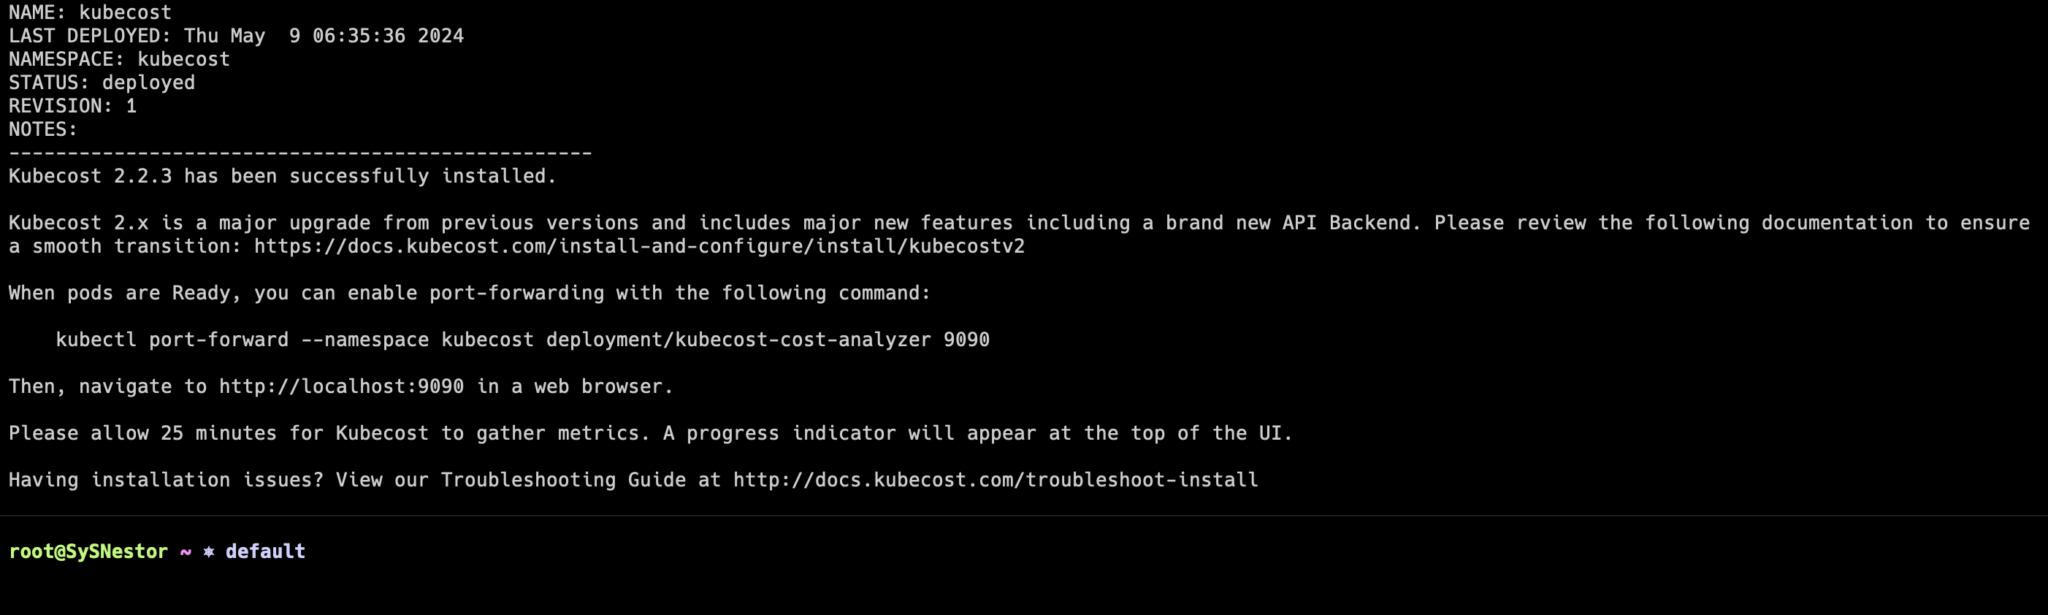
helm install kubecost cost-analyzer \
--repo https://kubecost.github.io/cost-analyzer/ \
--namespace kubecost --create-namespace \
--set kubecostToken="YOUR_KUBECOST_TOKEN"
Accessing Your Shiny New Cost Dashboard
Here's how to get into your new cost-saving command center:
kubectl port-forward --namespace kubecost deployment/kubecost-cost-analyzer 9090Quick Tip: I like to run this in a screen session so it doesn't die if my terminal closes. Just a little quality-of-life improvement!
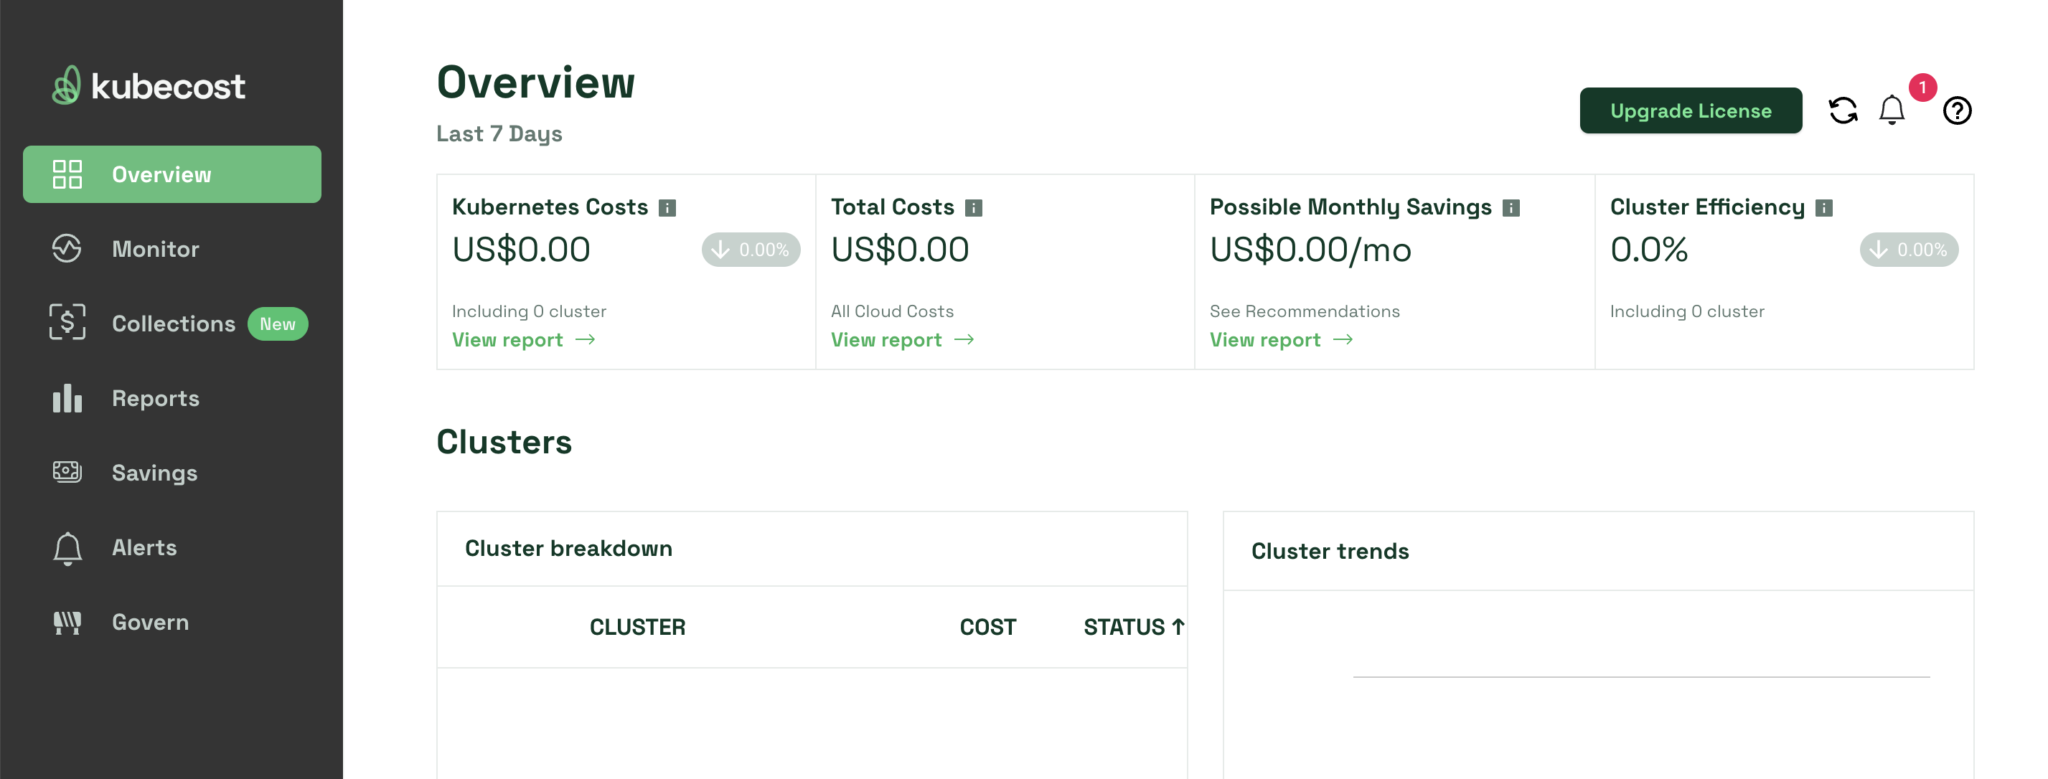
Open up http://localhost:9090 in your browser, and welcome to your new cost control center!
Real-World Tips from the Trenches
After running this setup for a few months, here are some things I've learned:
- Start by looking at your namespace costs - it's usually the quickest way to find big savings
- Don't forget to set up alerts for cost spikes - they've saved us more than once
- The default retention settings are fine for starting out, but you might want to adjust them based on your needs
What's Next?
Now that you've got Kubecost running, here are some things you might want to explore:
- Set up cost allocation for different teams or projects
- Configure alerts for budget overruns
- Integrate with your cloud provider's billing data for more accurate costs
Wrapping Up
Setting up Kubecost on K3s has been one of the best decisions we've made for our infrastructure. Yes, it takes a bit of time to get everything configured just right, but the visibility and cost savings you get are worth every minute.
If you're just starting out, remember: the goal isn't to have the perfect setup from day one. Get it running, start looking at your costs, and iterate from there. That's what worked for us, and I'm confident it'll work for you too.