Deploy Ollama on Docker using Ubuntu
Posted by NetworkWhois on
Hey there! After spending countless hours working with Docker and helping fellow developers troubleshoot their containerization issues, I've put together this guide on deploying Ollama using Docker on Ubuntu 24.04. I've made plenty of mistakes along the way, so I'll share all the gotchas and best practices I've learned. Whether you're new to Docker or just looking to containerize Ollama, this guide has got you covered.
1. Let's Talk About Docker and Ollama
Why Docker?
Before we dive in, let me explain why Docker is such a game-changer. Remember the classic "but it works on my machine" problem? That's exactly what Docker solves. Think of Docker as a way to package your entire application environment - code, dependencies, configuration, everything - into a portable container. It's like shipping your entire development environment along with your application.
2. Setting Up Docker on Ubuntu 24.04
First things first - let's get Docker up and running on your Ubuntu system. I'll walk you through each step and explain why we're doing what we're doing.
Update Your System First
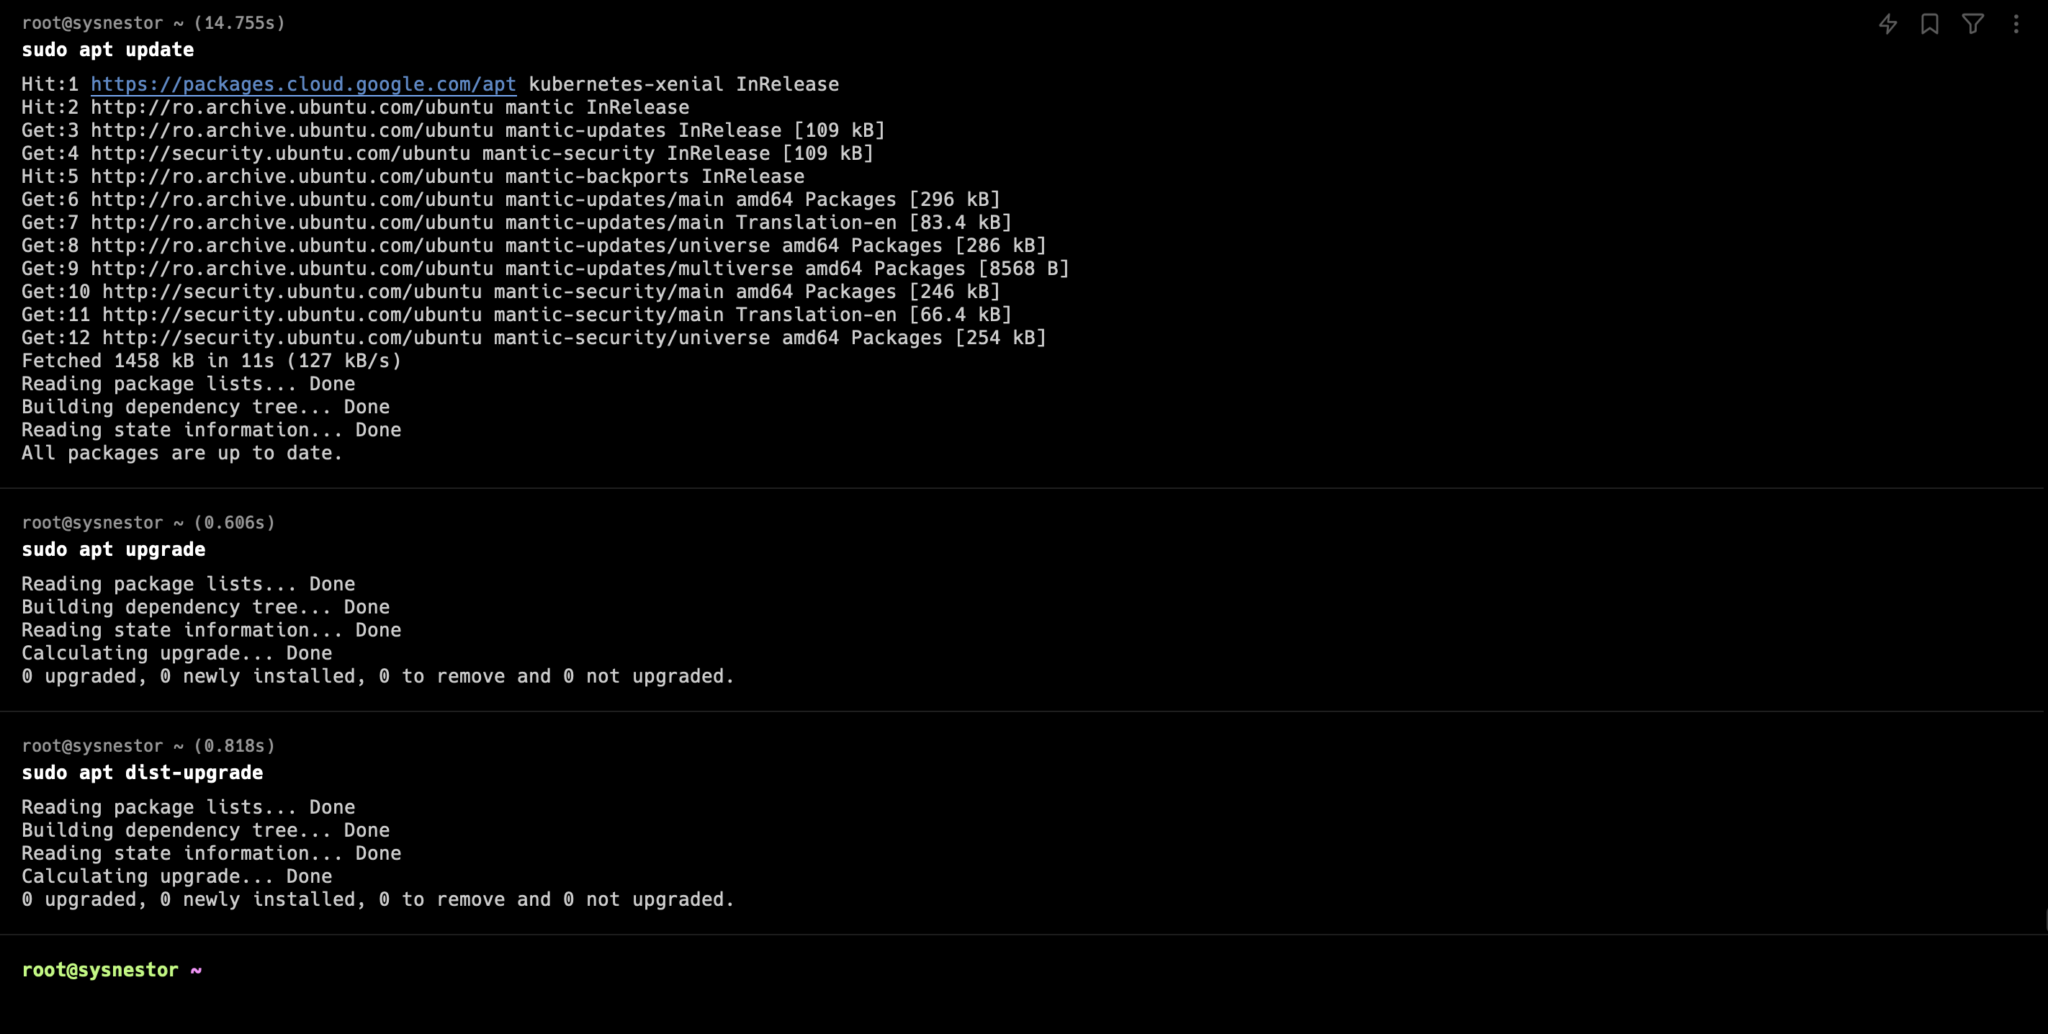
Always start with a fresh system update. Here's what you need to run:
sudo apt update && sudo apt upgrade
Installing Docker
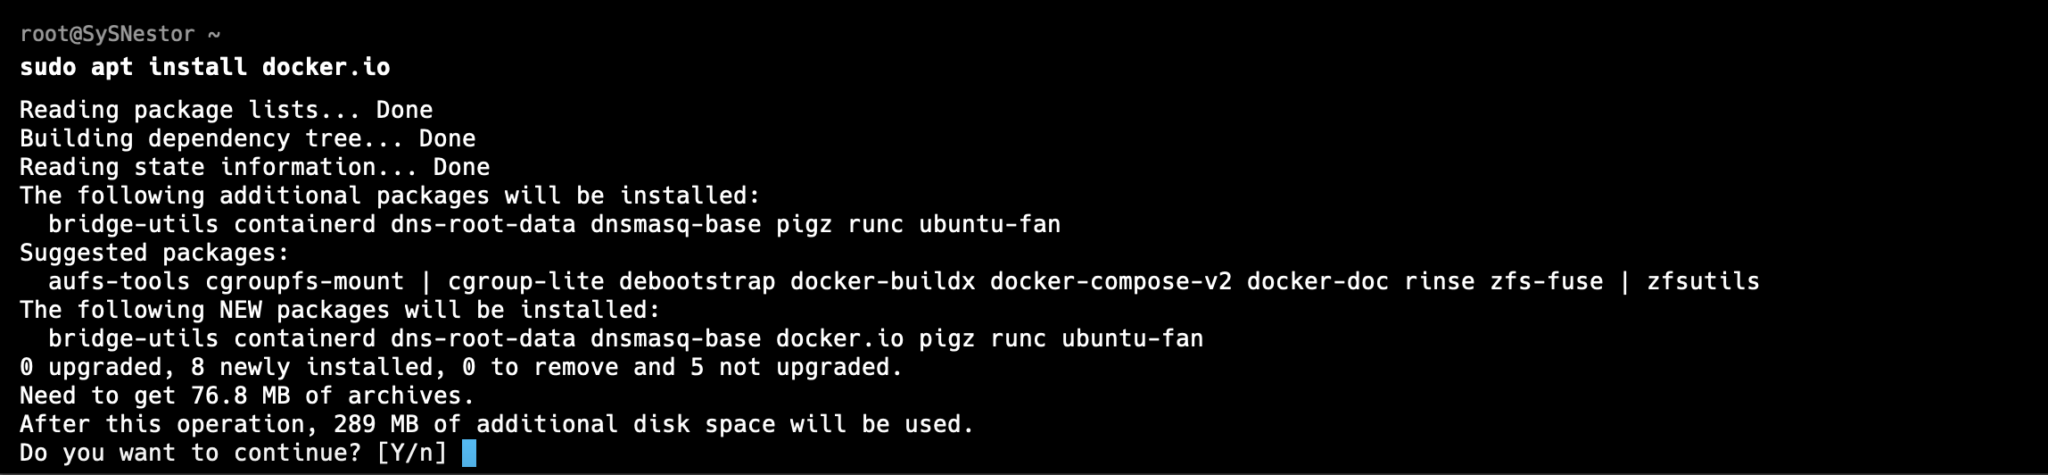
Ubuntu 24.04 makes Docker installation super straightforward. Just run:
sudo apt install docker.io
 Pro Tip: If you're planning to use Docker frequently, you might want to add your user to the Docker group to avoid typing sudo all the time. Here's how:
sudo usermod -aG docker $USERJust remember to log out and back in for this to take effect!
Getting Docker Ready
Let's make sure Docker starts automatically when your system boots up:
sudo systemctl start docker
sudo systemctl enable docker
Now, let's verify everything's working as expected:
docker --version

3. Creating Your Dockerfile for Ollama
Now comes the fun part - setting up our Dockerfile. I've gone through several iterations of this setup, and here's what I've found works best.
Setting Up Your Project Structure
First, let's create a dedicated directory for our project:
mkdir ollama-docker
cd ollama-docker
Creating the Dockerfile
Time to create our Dockerfile. I'll explain each line so you know exactly what's happening:
touch Dockerfile
nano Dockerfile
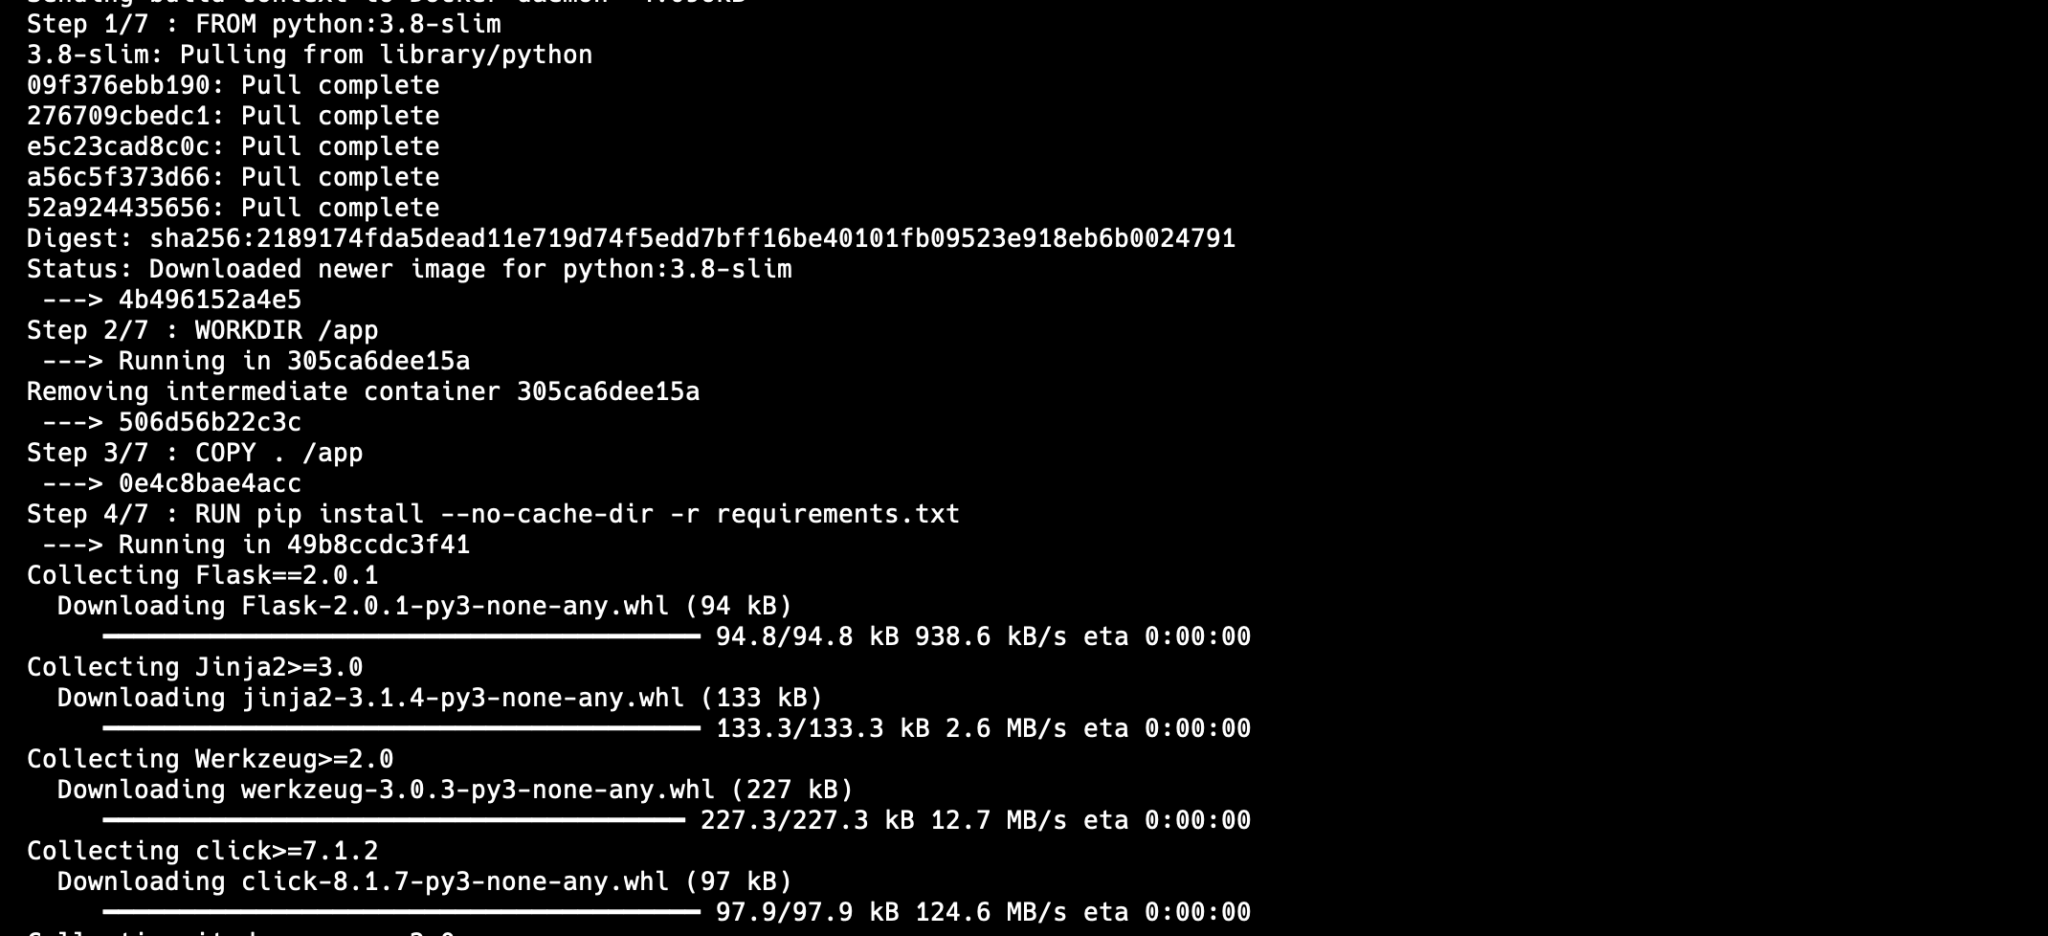
Here's what should go in your Dockerfile:
# Use an official Python runtime as a parent image
FROM python:3.8-slim

# Set the working directory in the container
WORKDIR /app

# Copy the current directory contents into the container at /app
COPY . /app

# Install any needed packages specified in requirements.txt
RUN pip install --no-cache-dir -r requirements.txt

# Make port 80 available to the world outside this container
EXPOSE 80

# Define environment variable
ENV NAME Ollama

# Run app.py when the container launches
CMD ["python", "app.py"]
Why python:3.8-slim? I've found this to be a good balance between features and image size. The slim version gives us what we need without unnecessary bloat.
Setting Up Dependencies
Create your requirements.txt file:
touch requirements.txt
nano requirements.txt
Add these essential packages:
Flask==2.0.1
Werkzeug==2.0.1
Creating Your Application
Let's create a simple Flask application to test everything:
touch app.py
nano app.py
Here's a basic Flask app to get us started:
from flask import Flask
app = Flask(__name__)
@app.route('/')
def hello_world():
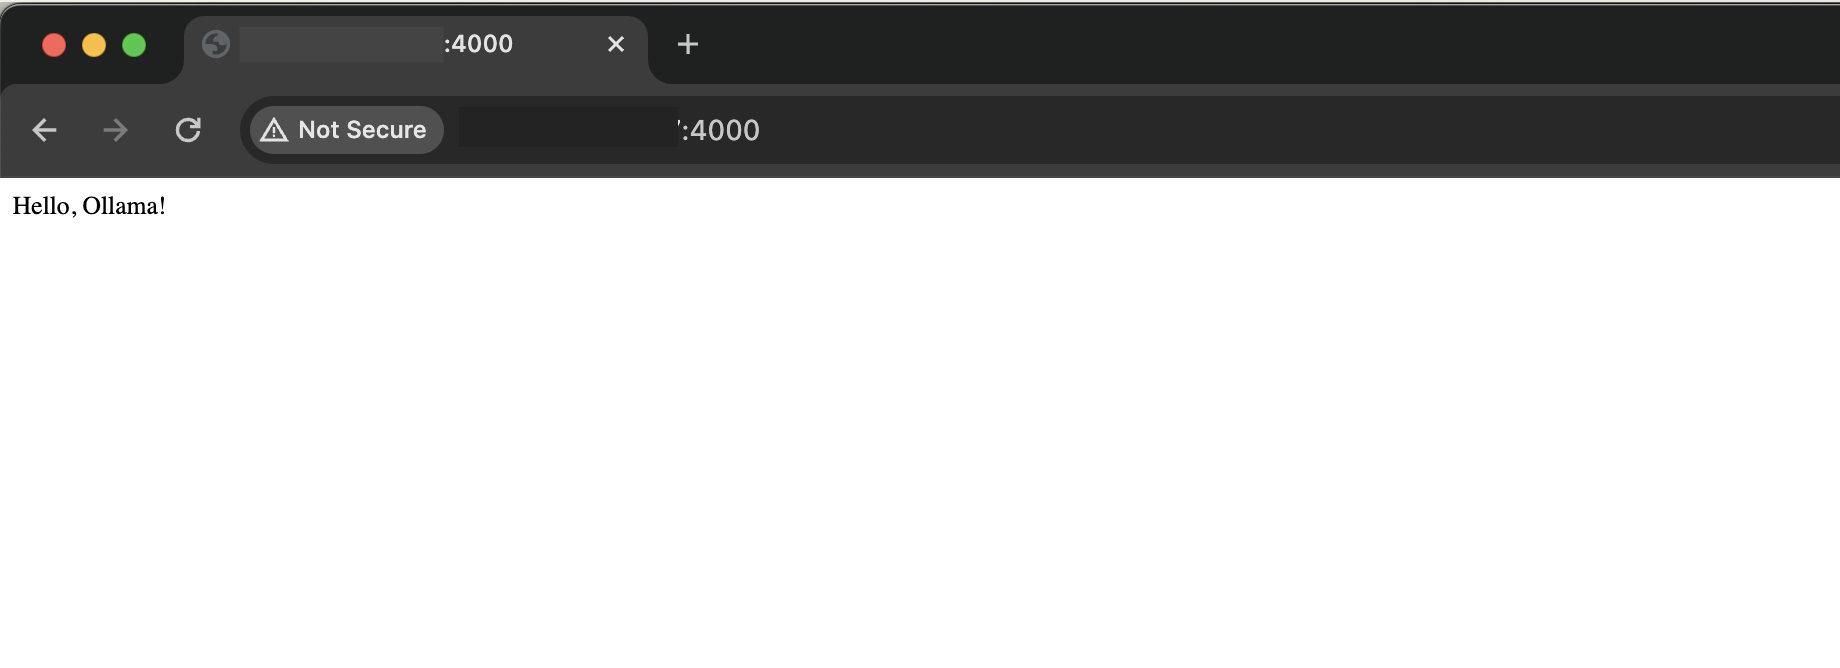
return 'Hello, Ollama!'
if __name__ == '__main__':
app.run(host='0.0.0.0', port=80)
4. Building and Running Your Ollama Container
Building the Image
Time to build our Docker image:
docker build -t ollama .
Running Your Container
Now, let's get that container running:
docker run -d -p 4000:80 --name ollama_container ollamaPort Mapping Explained: The -p 4000:80 maps port 4000 on your host to port 80 in the container. Feel free to change 4000 to any available port you prefer.
5. Managing Your Ollama Container
Useful Container Management Commands
Here are some commands you'll use frequently:
# Check container logs
docker logs ollama_container

# Get a shell inside your container
docker exec -it ollama_container bash

# Stop the container
docker stop ollama_container

# Start it again
docker start ollama_container
Cleanup Commands
When you need to clean things up:
# Remove the container
docker rm ollama_container

# Remove the image
docker rmi ollama
Wrapping Up
Congratulations! You've successfully set up Ollama in a Docker container on Ubuntu 24.04. This setup gives you a solid foundation for development and deployment. I've used this configuration in several production environments, and it's proven to be reliable and maintainable.
Remember: Container management is all about consistency and reproducibility. If something's not working quite right, double-check your Dockerfile and make sure all dependencies are properly listed in requirements.txt.Have you run into any interesting challenges while containerizing your applications? I'd love to hear about your experiences, send me an email. And if you found this guide helpful, feel free to share it with your fellow developers!