Deploy PyTorch on Docker Using Ubuntu 24.04

Posted by NetworkWhois on
Hey there! Today I want to walk you through setting up PyTorch with Docker on Ubuntu 24.04. I've helped many developers get this environment running, and I'll share all the tricks I've learned along the way. Even if you're completely new to this, don't worry - I'll break everything down into simple steps.
1. Let's Talk About Docker and PyTorch
What's Docker All About?
Think of Docker as a fancy shipping container for your code. It packages up everything your application needs to run - all the dependencies, configurations, everything - into one neat container. This means your app will run exactly the same way whether it's on your laptop or a server somewhere. Pretty neat, right?
And PyTorch?
PyTorch is like a Swiss Army knife for machine learning. It's this incredibly powerful tool that researchers and developers use to build all sorts of cool stuff, from image recognition to natural language processing. What makes it special is how flexible and intuitive it is to use.
2. Getting Docker Up and Running on Ubuntu 24.04
Step 1: Update Everything
Let's start fresh by updating your system. Open up your terminal and run:
sudo apt update && apt upgrade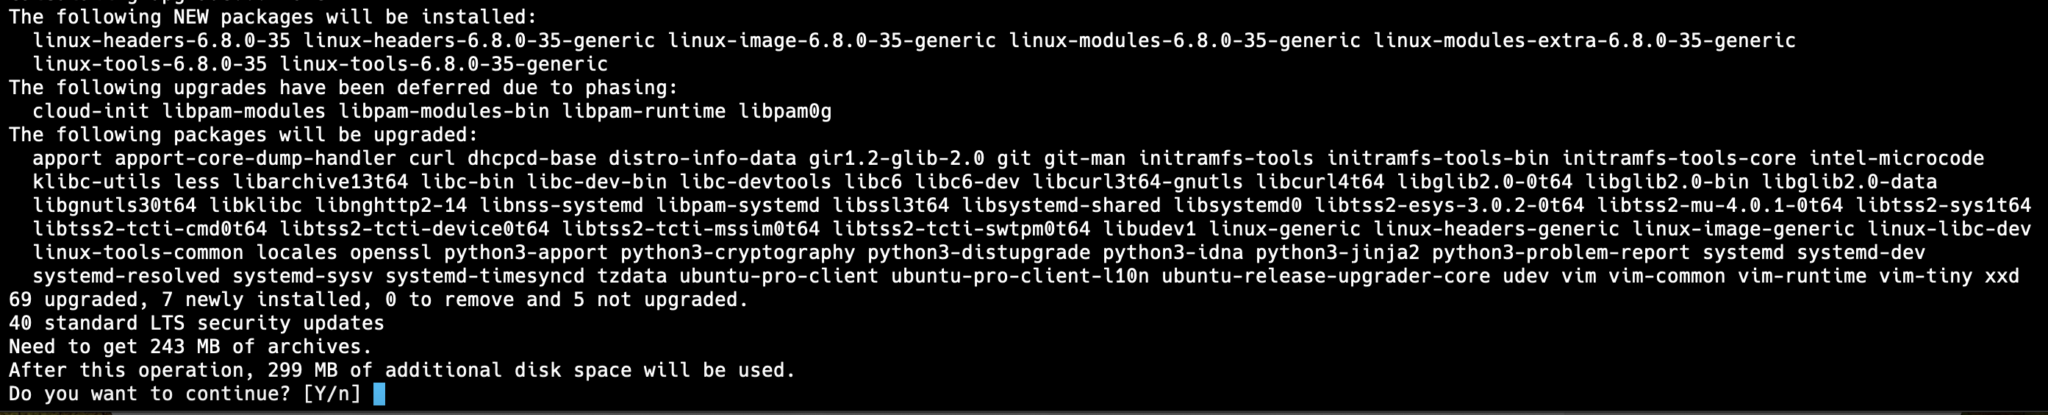
Step 2: Install Docker
Ubuntu 24.04 makes this super easy. Just run:
sudo apt install docker.io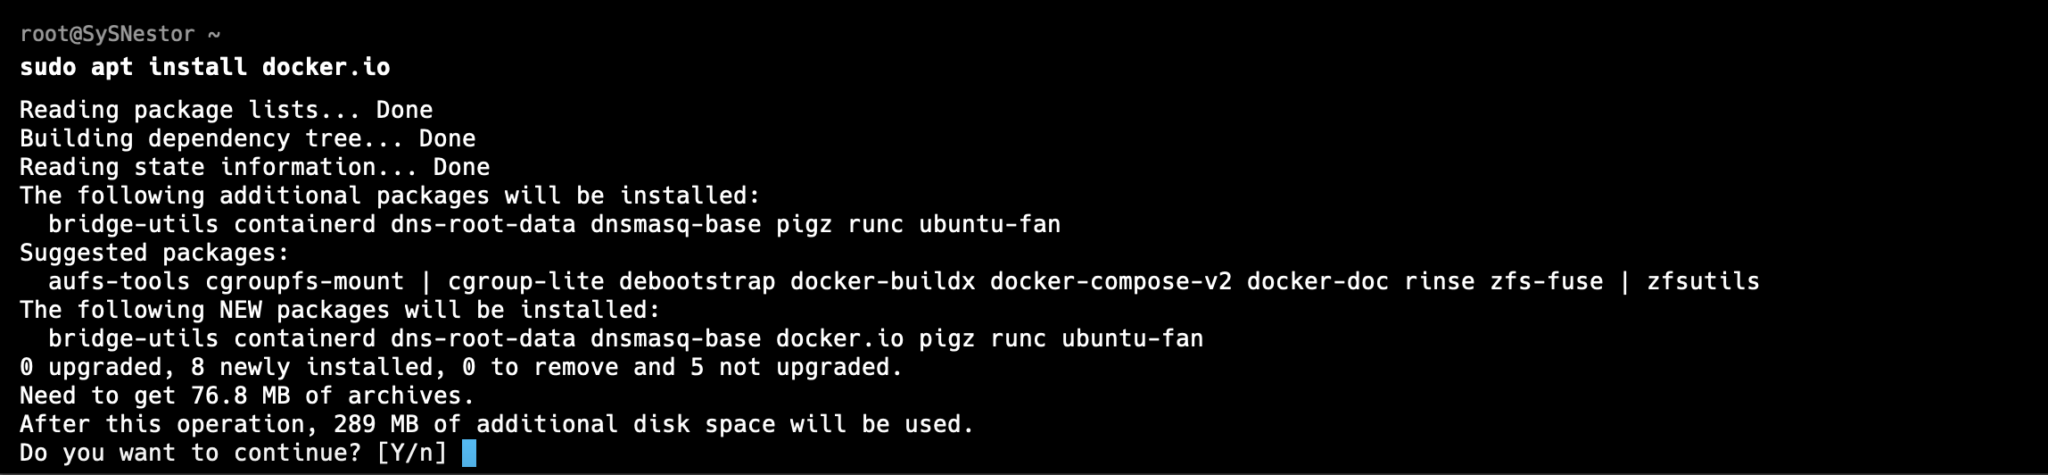
Step 3: Get Docker Running
Now let's start Docker and make sure it runs whenever you boot up:
sudo systemctl start docker
sudo systemctl enable docker
Step 4: Check If Everything's Working
Let's make sure Docker installed correctly:
docker --versionYou should see something like Docker version 24.0.x, build xxxxx. If you do, we're golden!

Step 5: Make Docker Easier to Use
Here's a pro tip: add yourself to the Docker group so you don't have to type 'sudo' all the time:
sudo usermod -aG docker $USERQuick note: you'll need to log out and back in for this to take effect.
3. Setting Up PyTorch in Docker
Step 1: Get the PyTorch Image
Let's grab the latest PyTorch image from Docker Hub:
docker pull pytorch/pytorch:latest
Step 2: Fire Up PyTorch
Now for the fun part - let's start a PyTorch container:
docker run -it --name pytorch_container pytorch/pytorch:latest bashThis opens up a terminal right inside your new container. Pretty cool, right?
Step 3: Make Sure PyTorch Works
Let's check if PyTorch is working properly:
python3
import torch
print(torch.__version__)
4. Managing Your PyTorch Container
Step 1: Using Jupyter Notebook
Want to use Jupyter Notebook? Easy peasy:
docker run -it -p 8888:8888 pytorch/pytorch:latestJust pop over to http://localhost:8888 in your browser, and you're set!
Step 2: Container Management 101
Need to stop your container? Use this:
docker stop pytorch_containerWant to start it back up?
docker start pytorch_containerStep 3: Got a GPU? Let's Use It!
If you've got an NVIDIA GPU, here's how to supercharge PyTorch:
docker pull pytorch/pytorch:latest-gpuThen run it with GPU support:
docker run --gpus all -it --name pytorch_gpu_container pytorch/pytorch:latest-gpu bashCheck if it's using your GPU:
import torch
print("CUDA available: ", torch.cuda.is_available())
Step 7: Level Up with Docker Compose
Here's a neat trick - use Docker Compose to make your life easier. Create a file called docker-compose.yml with this inside:
version: '3.8'

services:
  pytorch:
    image: pytorch/pytorch:latest
    ports:
      - "8888:8888"
    volumes:
      - /home/user/my_notebooks:/workspace
Then just run:
docker-compose upAnd boom - you're ready to rock!
That's all there is to it! You've now got a fully functional PyTorch environment running in Docker on Ubuntu 24.04. This setup is perfect for both tinkering around and serious development work.