Deploy RabbitMQ on Kubernetes

Posted by NetworkWhois on
When I first needed to set up a message broker for our microservices architecture, I'll admit I was a bit overwhelmed. After trying several options, I landed on RabbitMQ running on K3s, and I couldn't be happier with the setup. I'm sharing my journey here to help you avoid the pitfalls I encountered along the way.
Quick background: I was working on modernizing our application's architecture, moving from a monolithic system to microservices. We needed a reliable way for our services to communicate, and RabbitMQ kept coming up in our research. The challenge was getting it running smoothly on our Kubernetes setup - that's where this story begins.
Getting Your Ducks in a Row
Before we dive in, here's what you'll need to get started:
- A working K3s installation (I have a link to my K3s setup guide if you need it)
- Basic Linux command knowledge (nothing too fancy, I promise)
- Terminal access
- Sudo privileges on your machine
Getting RabbitMQ Up and Running
First things first - we're going to use Helm. Trust me, it makes life so much easier. Here's how to get it installed:
curl https://raw.githubusercontent.com/helm/helm/main/scripts/get-helm-3 | bash

Once you've got Helm installed, we need to add the RabbitMQ repository. I use Bitnami's charts because they're well-maintained and reliable:
helm repo add bitnami https://charts.bitnami.com/bitnami
helm repo update

Fun fact: I initially tried to deploy RabbitMQ manually without Helm. Three hours and several configuration headaches later, I switched to Helm. Save yourself the trouble!
The Main Event - Deploying RabbitMQ
Here's where the magic happens. We're going to deploy RabbitMQ with a simple command:
helm install my-release bitnami/rabbitmq
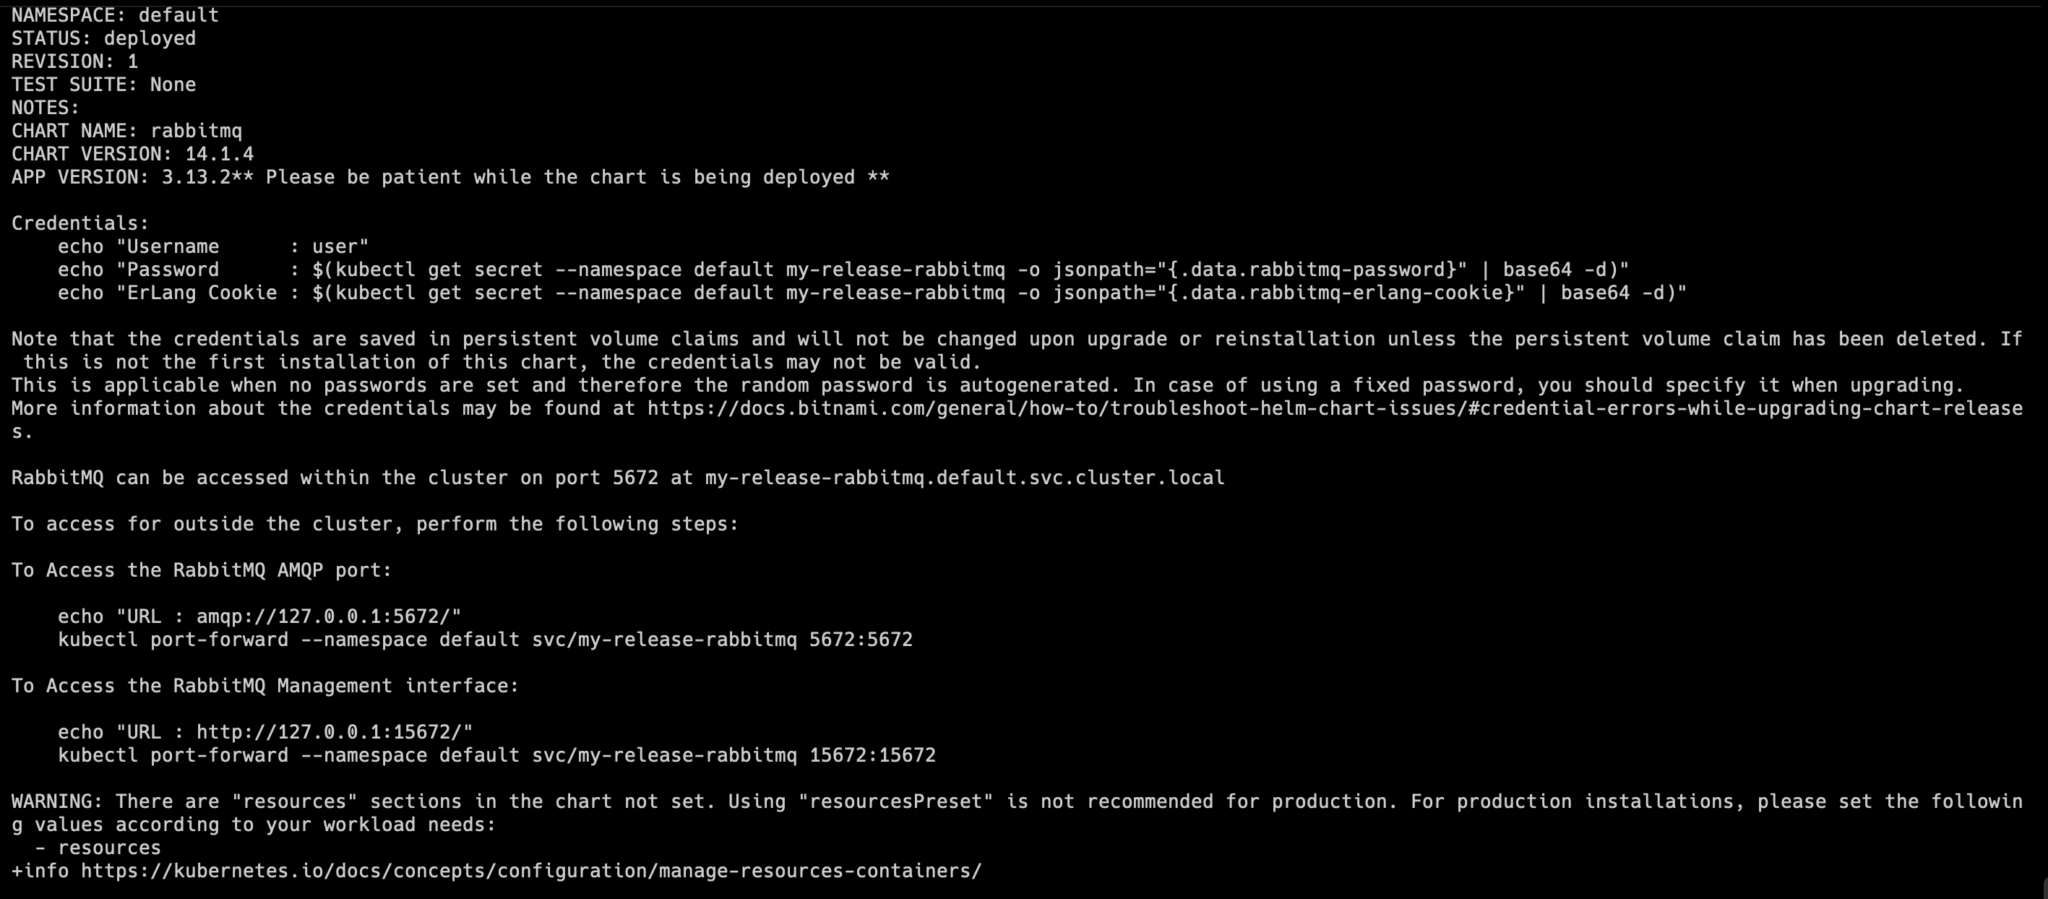
Now, don't let the simplicity fool you. Behind the scenes, this command is setting up a complete RabbitMQ environment with sensible defaults. I named mine 'my-release', but feel free to get creative with the name.
Deployment Tip: Be patient after running this command. The first time I did it, I thought something was wrong because it took a few minutes to get everything running. That's normal!To make sure everything's working as expected, run:
kubectl get pods
You should see something like this:
NAME                    READY   STATUS    RESTARTS   AGE
my-release-rabbitmq-0   1/1     Running   0          80s
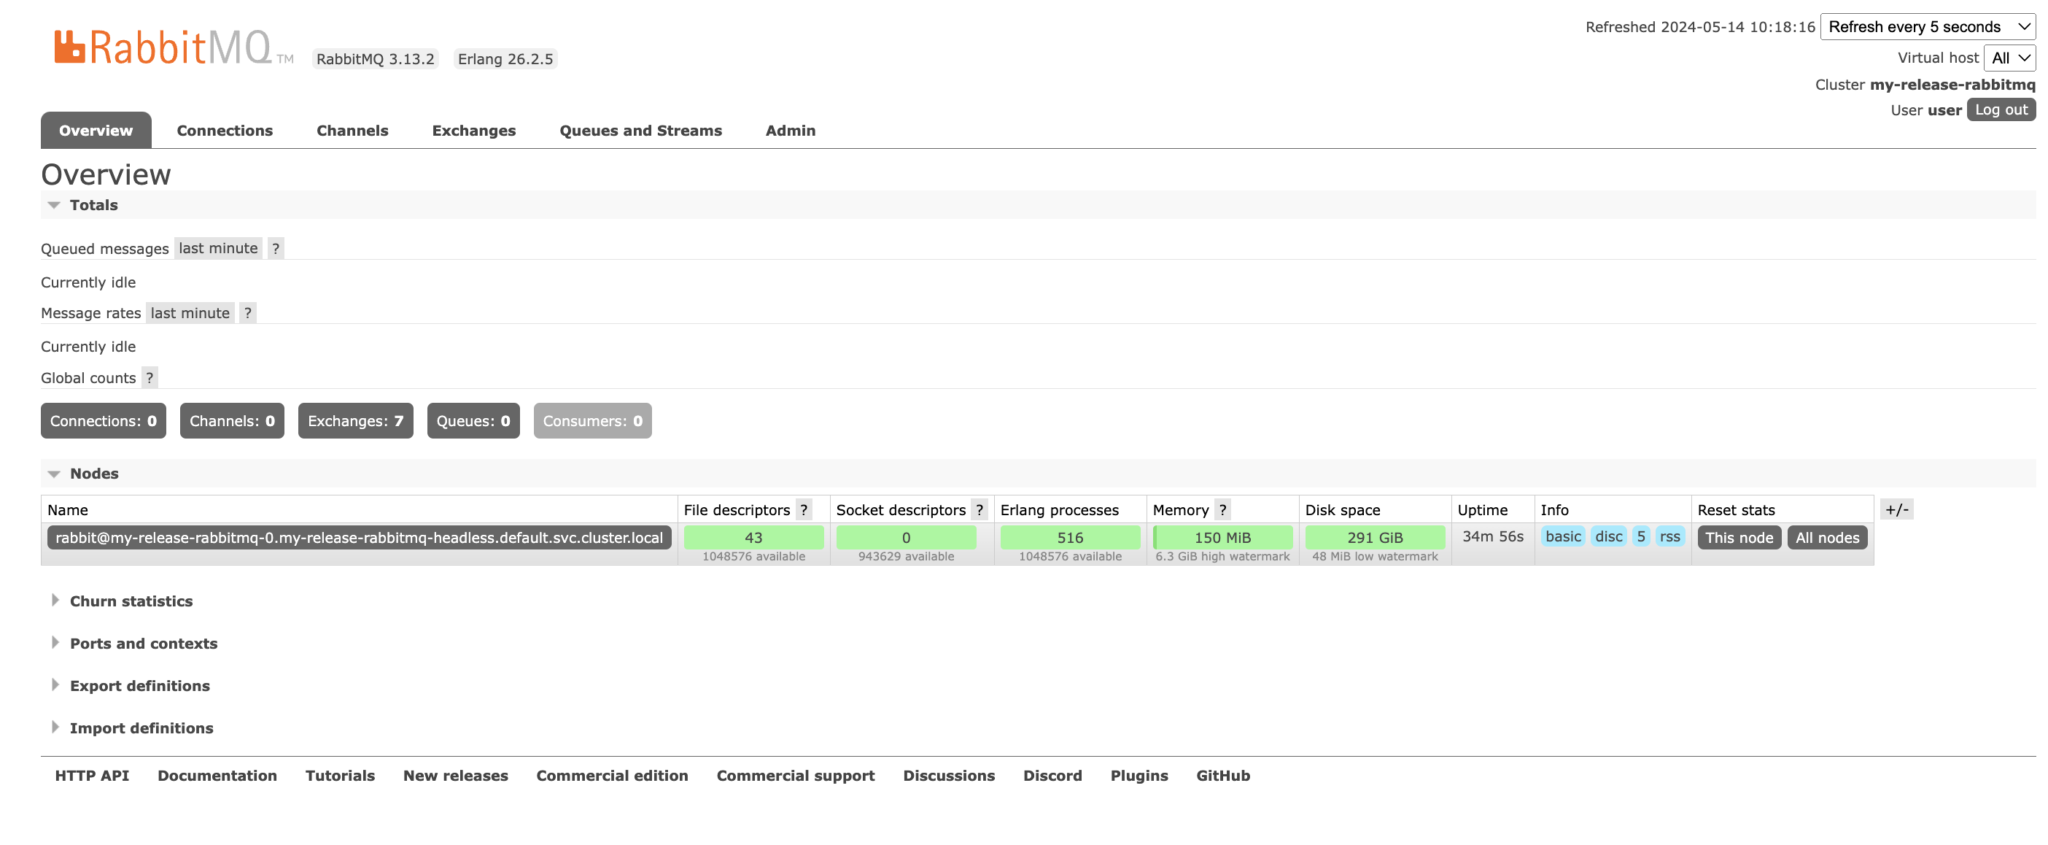
Accessing Your New RabbitMQ Setup
Here's where things get interesting. RabbitMQ comes with a really useful management dashboard, but getting to it requires a few steps:
kubectl port-forward --namespace default svc/my-release-rabbitmq 15672:15672
 Security Note: The default username is 'user', but don't go hunting for the password in configuration files. Here's the command to get it:
echo "Password : $(kubectl get secret --namespace default my-release-rabbitmq -o jsonpath="{.data.rabbitmq-password}" | base64 -d)"
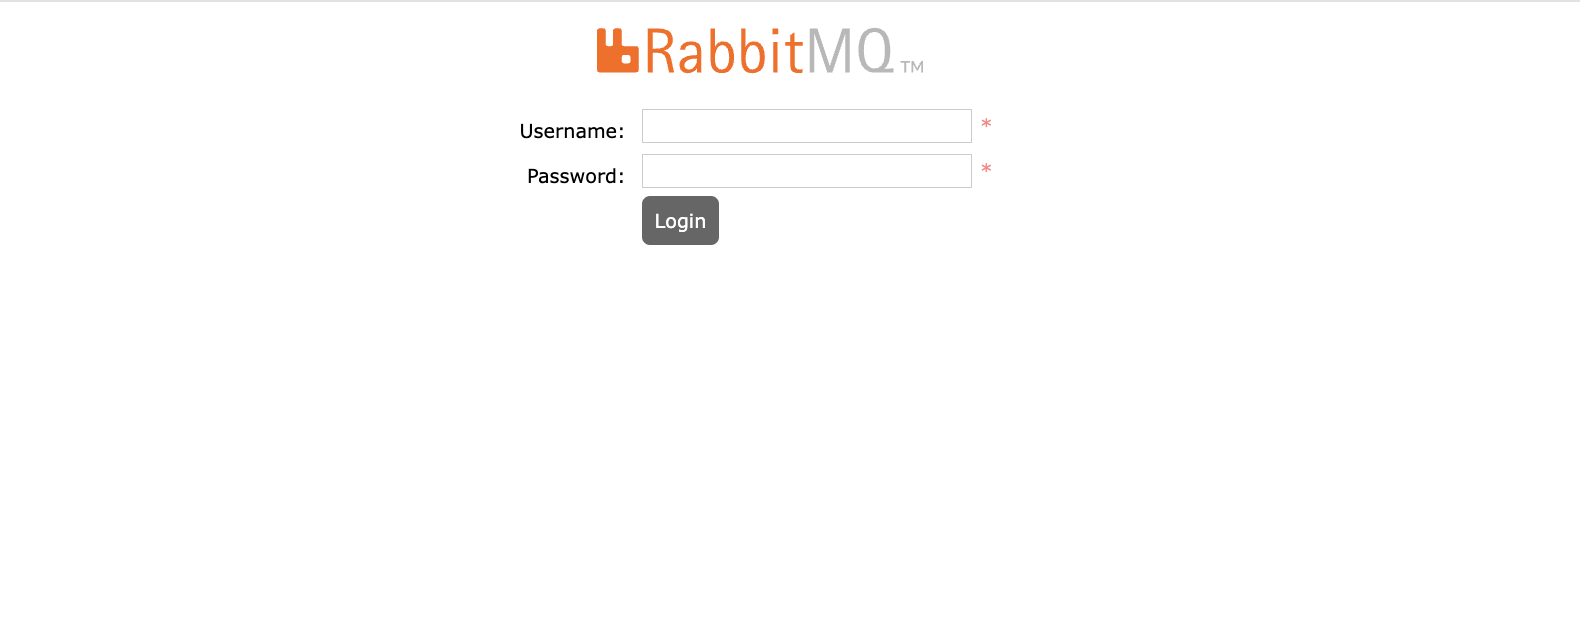
Save that password somewhere safe - you'll need it to log into the dashboard at http://localhost:15672/
Making RabbitMQ Accessible (If You Need To)
Here's something I learned while setting this up in our development environment: sometimes you need to access RabbitMQ from outside your cluster. Here's how to do it:
- First, check your current service setup:
- Then, edit the service configuration:
- Find the line that says
type: ClusterIPand change it totype: NodePort
kubectl get svc | grep rabbitmq
kubectl edit svc my-release-rabbitmq

I remember spending an entire afternoon trying to figure out why our external services couldn't connect to RabbitMQ. Turns out, I forgot to change the service type to NodePort. Sometimes the simplest solutions are the hardest to spot!
Some Real-World Advice
After running this setup in production for several months, here are some things I've learned:
- Monitor your resource usage carefully in the first few days. RabbitMQ can be resource-hungry depending on your message volume.
- Set up proper monitoring - the management UI is great, but you'll want proper alerts for production.
- Keep an eye on your persistent volumes - messages can pile up quickly.
Wrapping Up
Setting up RabbitMQ on K3s might seem daunting at first, but it's actually quite manageable once you know the steps. I've been running this setup for months now, and it's been rock solid. The combination of RabbitMQ's reliability and K3s's lightweight nature has worked perfectly for our needs.
The best part? This setup is easily scalable. As our message volume grew, we were able to adjust resources and add more nodes without any downtime. That's the beauty of running RabbitMQ on Kubernetes!
Final Thoughts: Don't be afraid to experiment with the configuration once you have the basic setup working. RabbitMQ is quite flexible, and you can tune it to match your specific needs. Just remember to make one change at a time and monitor the results!