Deploy TensorFlow on Docker Using Ubuntu 24.04
Posted by NetworkWhois on
Hey there! Today I'm going to walk you through setting up TensorFlow using Docker on Ubuntu 24.04. Don't worry if this sounds complicated - I'm going to break it down into simple, manageable steps. I've helped quite a few developers get this environment up and running, and I'll share all the tricks I've learned along the way.
What's All This Docker Stuff About?
Think of Docker as a magical box that packages up everything your application needs to run. It's like having a complete mini-computer that's perfectly set up for your needs. The cool thing is, once you've got it working, it'll run the same way everywhere - whether it's on your laptop, your friend's computer, or a server somewhere in the cloud. For us data science folks, this is super handy because it means we don't have to spend hours getting TensorFlow and all its dependencies set up just right.
Let's Get Docker Running on Ubuntu
First Things First: Update Your System
Before we dive in, let's make sure your system is up to date. Pop open your terminal and run:
sudo apt update && sudo apt upgrade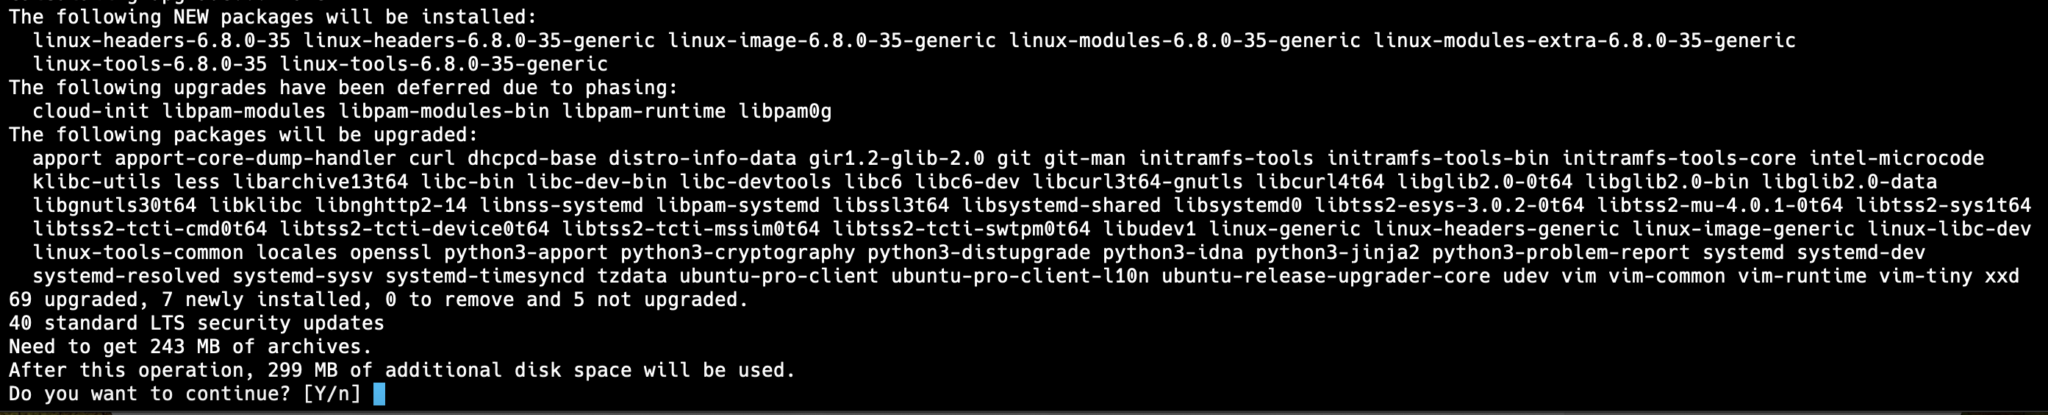
Installing Docker (It's Easier Than You Think!)
Ubuntu 24.04 makes this part super simple. Just run:
sudo apt install docker.io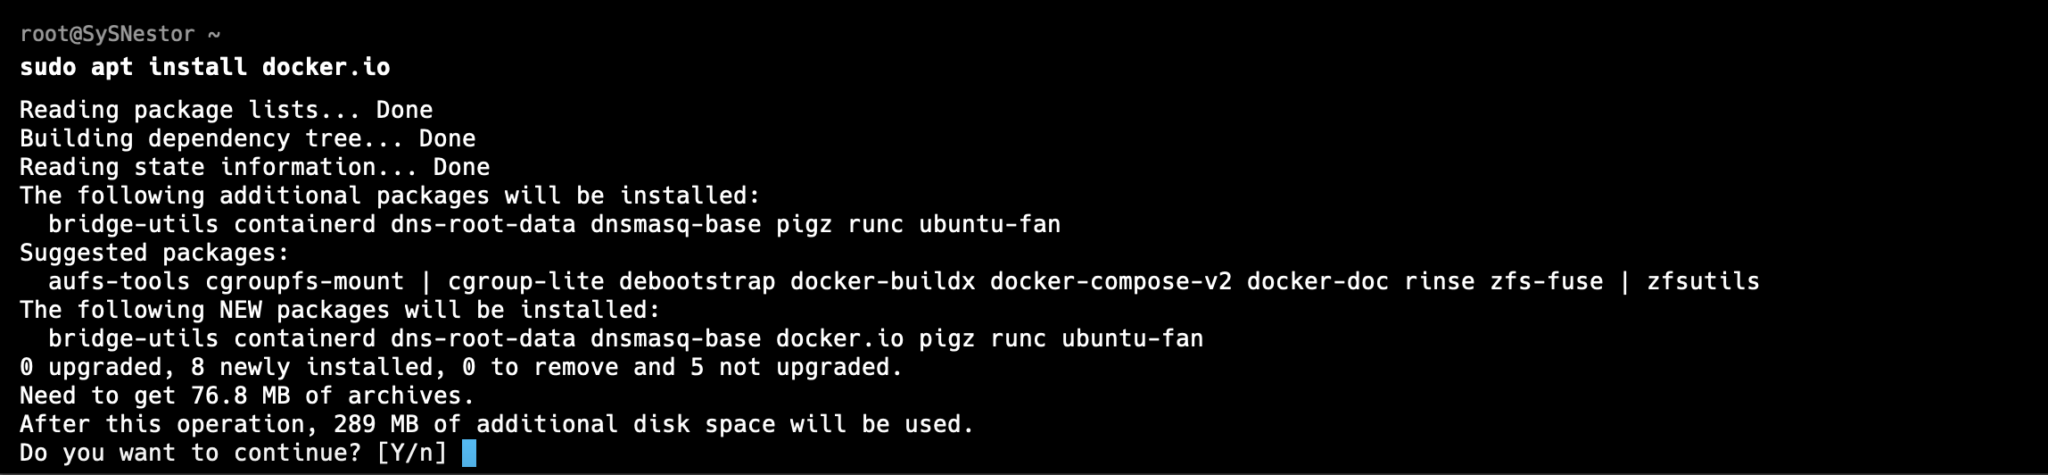
Getting Docker Up and Running
Now let's start Docker and make sure it launches whenever you boot up your computer:
sudo systemctl start docker
sudo systemctl enable docker
Quick Check: Did It Work?
Let's make sure everything installed correctly:
docker --version
You should see something like Docker version 24.0.x. If you do, we're golden!
Pro Tip: Make Docker Easier to Use
Here's a handy trick I always use - add yourself to the Docker group so you don't have to type 'sudo' all the time:
sudo usermod -aG docker $USERQuick heads up: you'll need to log out and back in for this to take effect.
Setting Up TensorFlow (The Fun Part!)
Grab the TensorFlow Image
Time to get TensorFlow! This command will download everything you need:
docker pull tensorflow/tensorflow:latest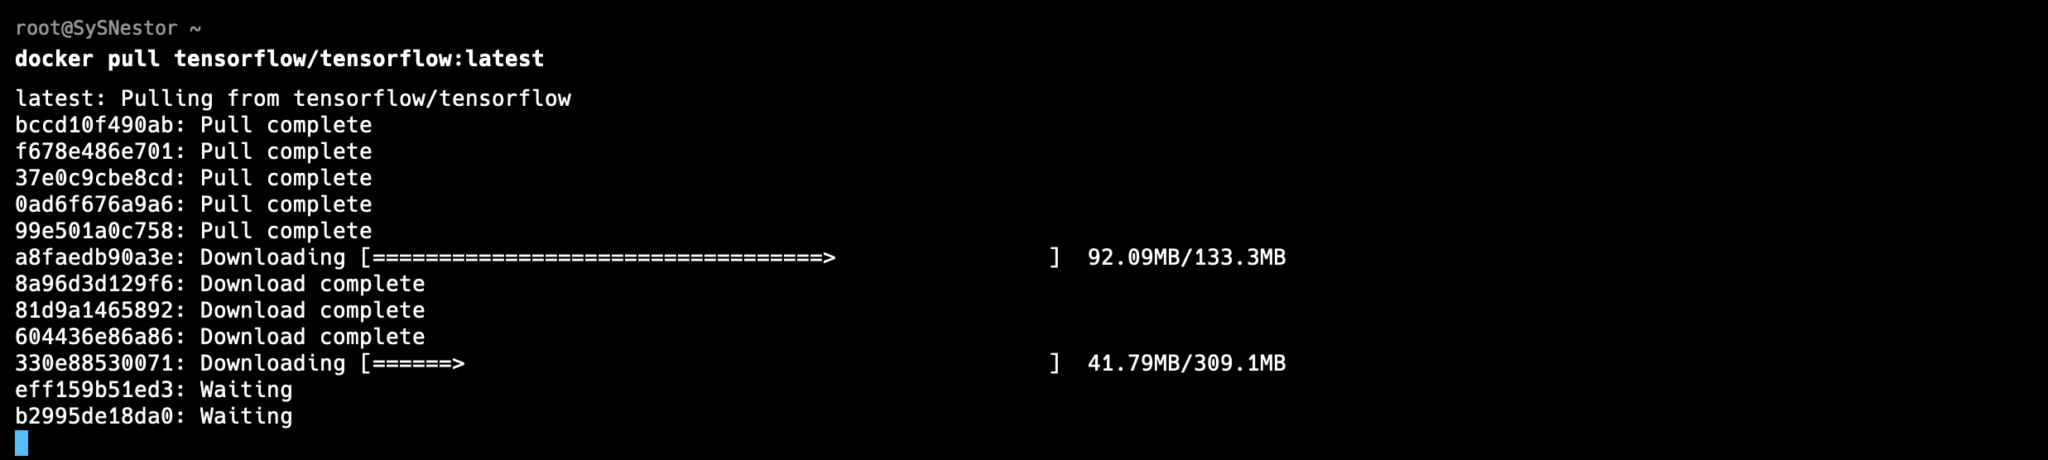
Fire It Up!
Now for the exciting part - let's start TensorFlow:
docker run -it --name tensorflow_container tensorflow/tensorflow:latest bash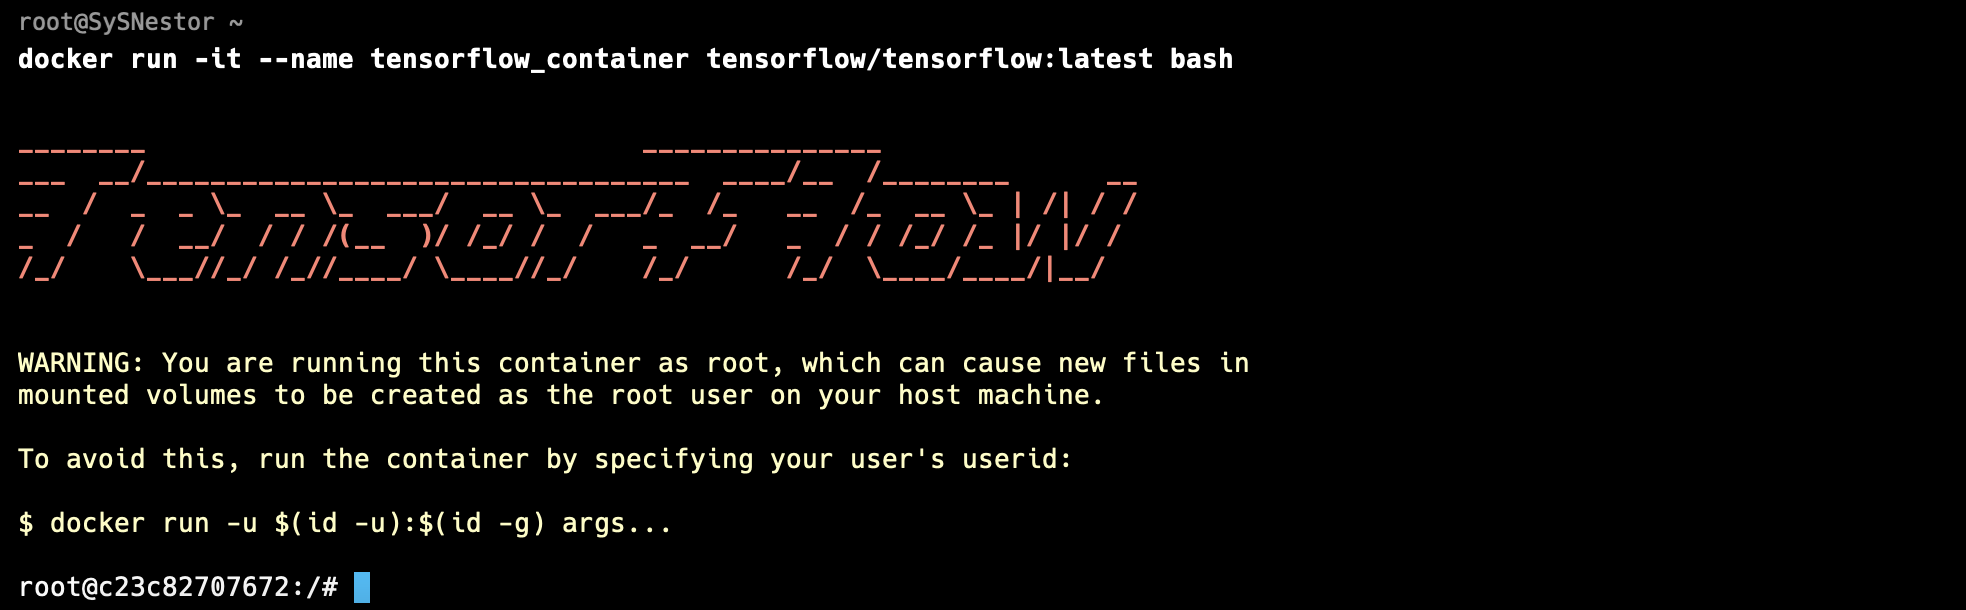
Make Sure It's Working
Let's do a quick test to make sure TensorFlow is ready to rock:
python3
import tensorflow as tf
print(tf.__version__)
The Cool Stuff: Using Your TensorFlow Container
Want to Use Jupyter Notebook?
Here's a neat feature - TensorFlow comes with Jupyter Notebook built in! Just run:
docker run -it -p 8888:8888 tensorflow/tensorflow:latest-jupyter
Then just pop over to http://localhost:8888 in your browser, and you're ready to start coding!
Managing Your Container
Need to take a break? You can stop your container like this:
docker stop tensorflow_containerReady to get back to work?
docker start tensorflow_containerSpring Cleaning
If you're done with a container and want to clean up:
docker rm tensorflow_containerAnd that's it! You've now got a fully functional TensorFlow environment that you can fire up whenever you need it. Pretty cool, right? The best part is, since it's in Docker, you can be confident it'll work the same way every time you use it.
I use this setup for both playing around with new ideas and serious development work. It's really flexible and saves a ton of time compared to installing everything manually.