How to Start a WordPress Blog in 2025

Posted by NetworkWhois on
Starting a WordPress blog has become much more straightforward over the years, but it still requires careful attention to detail. I've helped many beginners set up their first blog, and this guide walks you through every step of the process - from securing your domain name to launching your WordPress site.
Understanding the Core Components
Before diving into the technical setup, let's break down the key elements you'll be working with:
- WordPress: A powerful content management system that powers over 40% of all websites. It's free, open-source, and incredibly flexible.
- Domain Name: Your blog's unique address on the internet (like yoursite.com). Think of it as your blog's permanent home address.
- cPanel: A control panel that helps you manage your hosting account. It's where you'll handle domains, files, and installations.
- Softaculous: A tool that makes installing WordPress (and other applications) as simple as clicking a few buttons.
Setting Up Your Domain
1. Choosing and Purchasing Your Domain
Your domain name is crucial for your blog's identity. When selecting one:
- Keep it memorable and easy to type
- Avoid hyphens and numbers if possible
- Consider how it will look on business cards and social media
2. Configuring Your Nameservers
After purchasing your domain, you'll need to point it to your hosting server:
- Log into your domain registrar's dashboard
- Find the nameserver settings (usually under DNS management)
- Replace the existing nameservers with your hosting provider's nameservers
Adding Your Domain to cPanel
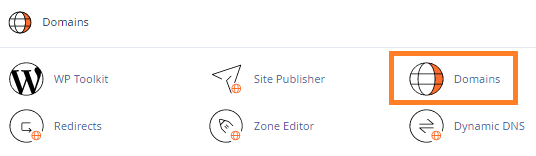
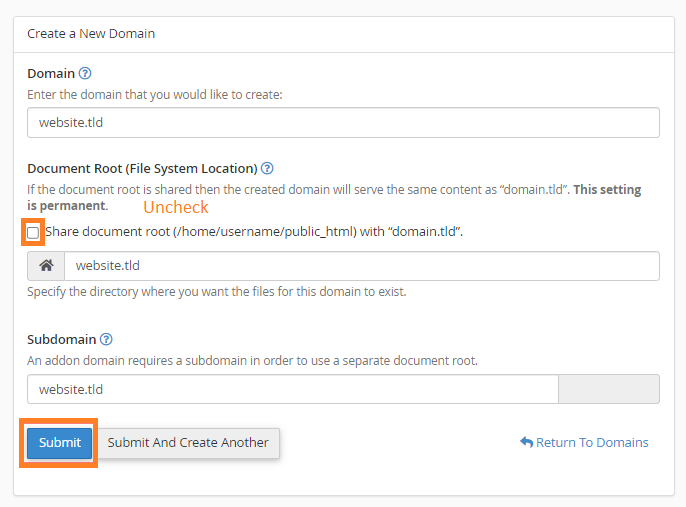
Domain Configuration Steps
- Log into cPanel and find the Domains section
- Click "Create a New Domain"
- Enter your domain name
- Uncheck "Share document root" (important for separate blog setup)
- Keep the default directory settings unless you have specific needs
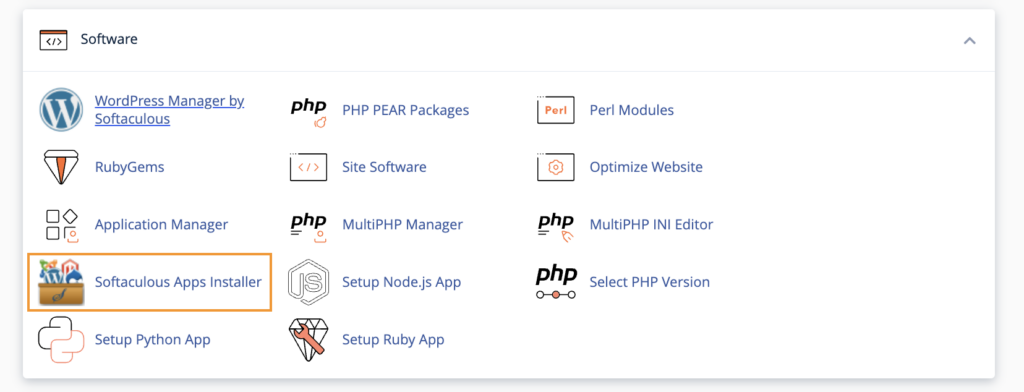
Installing WordPress with Softaculous
1. Accessing Softaculous
Find Softaculous in cPanel's Software section. It's usually labeled as "Softaculous Apps Installer."
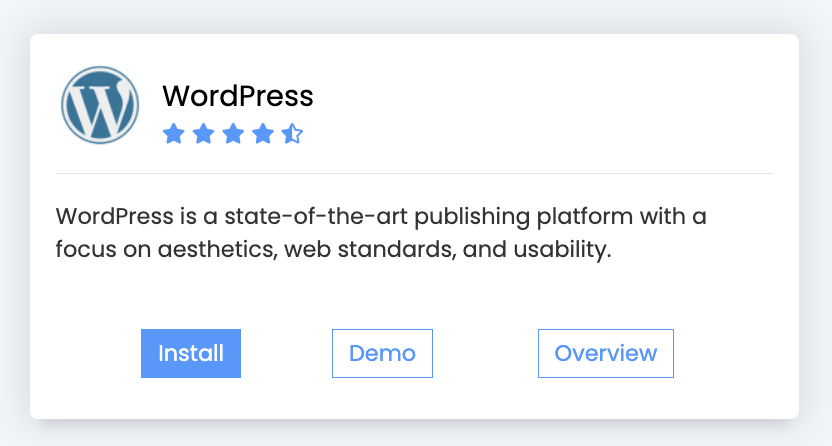
2. WordPress Installation Process
- Choose WordPress from the available applications
- Click "Install Now"
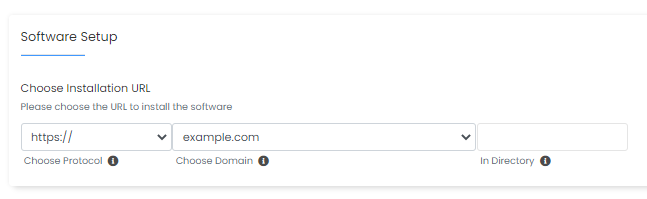
- Select your domain from the dropdown menu
- Leave the directory field blank for root installation
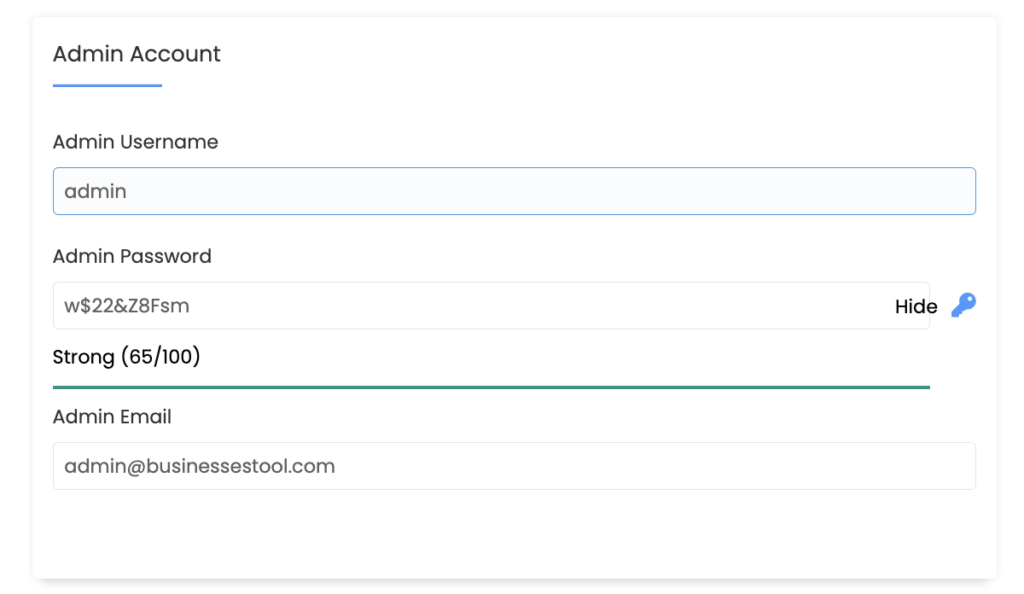
- Set up your admin account with a strong password
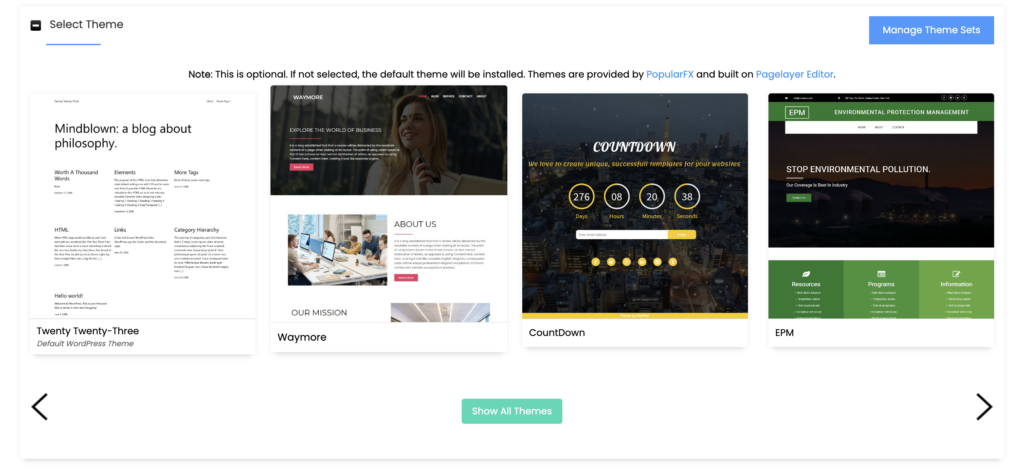
- Choose your initial theme (you can change this later)
After Installation
Once WordPress is installed, you should:
- Log into your WordPress dashboard
- Install essential plugins for security and SEO
- Set up your site's basic pages (About, Contact, Privacy Policy)
- Customize your theme to match your brand
- Create your first blog post