Deploy Uptime Kuma with Docker

Posted by NetworkWhois on
Hey there! After spending countless hours searching for the perfect monitoring solution for my web services, I finally found Uptime Kuma. I've been using it for a while now, and I thought I'd share my experience setting it up with Docker. It's been a game-changer for keeping tabs on my applications, and I think you'll love it too.
What Made Me Choose Uptime Kuma?
After trying several monitoring tools, Uptime Kuma caught my attention because it's completely free and open-source. Plus, it can monitor pretty much everything - websites, APIs, and even ping servers. The best part? No more paying for expensive monitoring services! You get full control over your monitoring setup, and the interface is surprisingly user-friendly.
Why I Run It on Docker
Look, I've had my fair share of dependency nightmares in the past. That's why I love using Docker for tools like this. It keeps everything neat and isolated, and I can move my setup between machines without pulling my hair out. If you're new to Docker, don't worry - I'll walk you through everything.
Quick Tip: Before you start, make sure you've got Docker installed. If you haven't, check out my Docker installation guide first.Getting Everything Up and Running
First, grab the Uptime Kuma image. I use version 1 because it's stable and well-tested:
docker pull louislam/uptime-kuma:1
Now, here's the command I use to run it (I'll explain what each part does):
docker run -d --restart=always -p 80:3001 -v uptime-kuma:/app/data --name uptime-kuma louislam/uptime-kuma:1
Let me break down why I chose these options:
- The
-dflag lets it run in the background (so it doesn't hog your terminal) --restart=alwaysmeans it'll start back up if your server restarts (learned this one the hard way!)-p 80:3001maps it to port 80, so you can access it easily- The volume (
-v) keeps your data safe even if you need to rebuild the container
Setting Up Your First Monitor
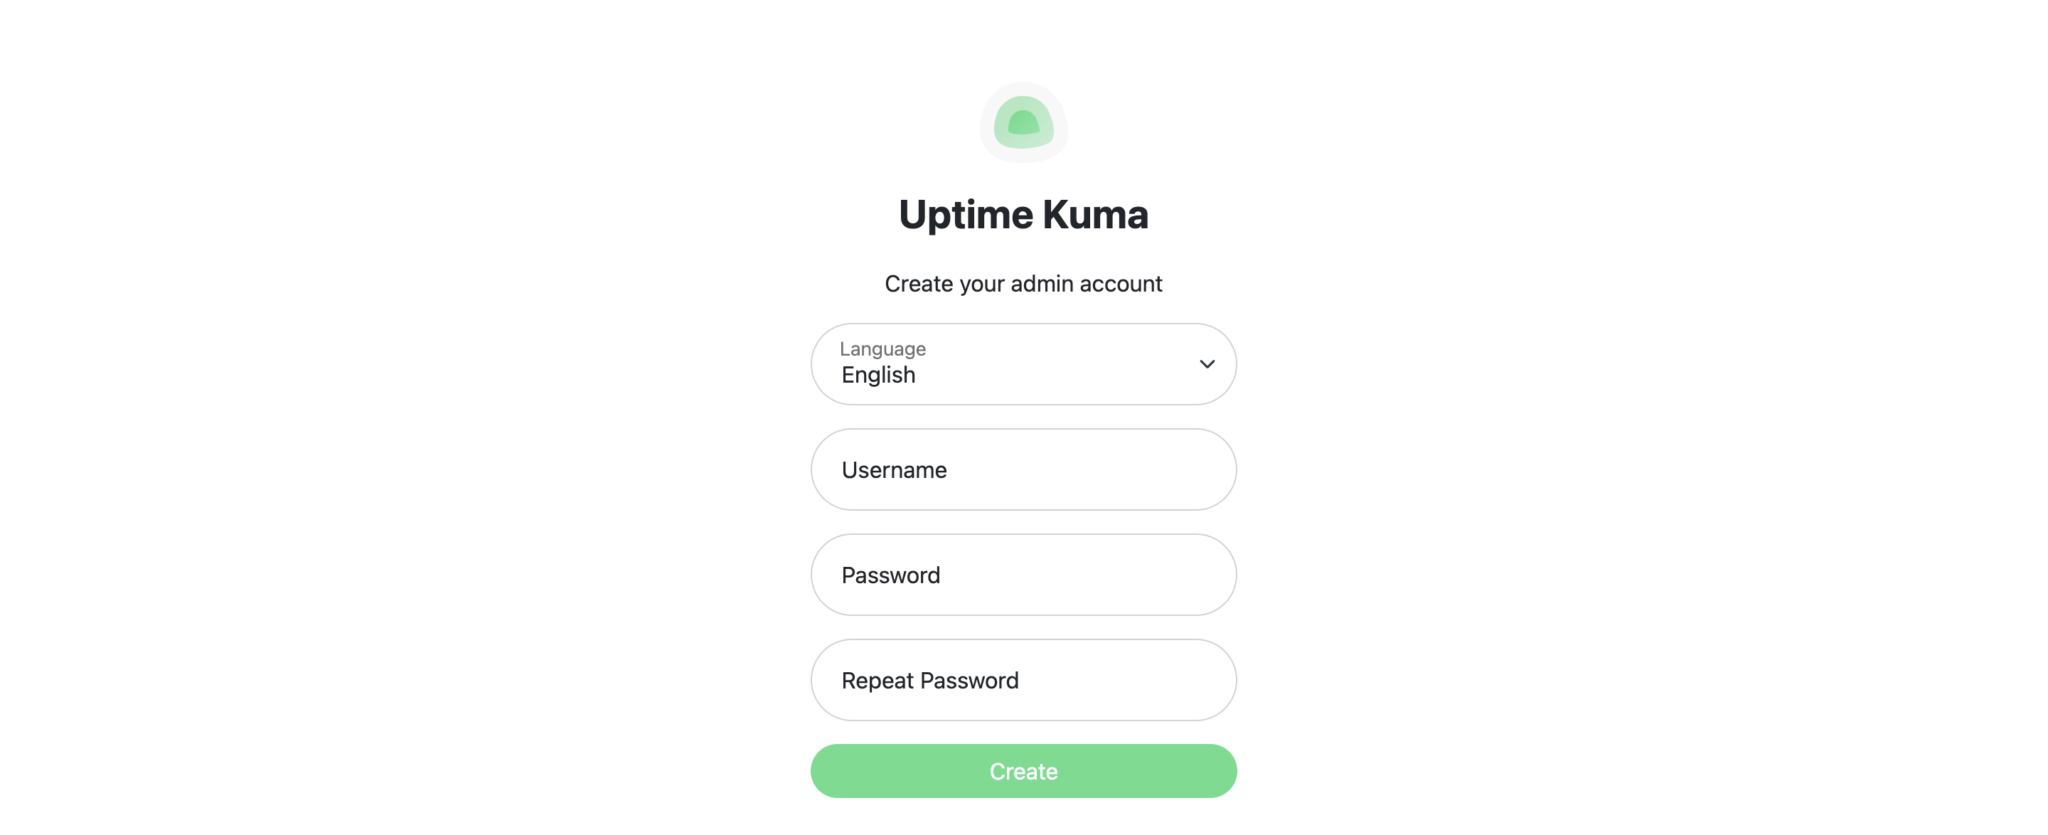
Once you've got it running, just open your browser and head to http://localhost (or your server's IP address if you're running it remotely). You'll see the setup screen where you can create your first monitor.
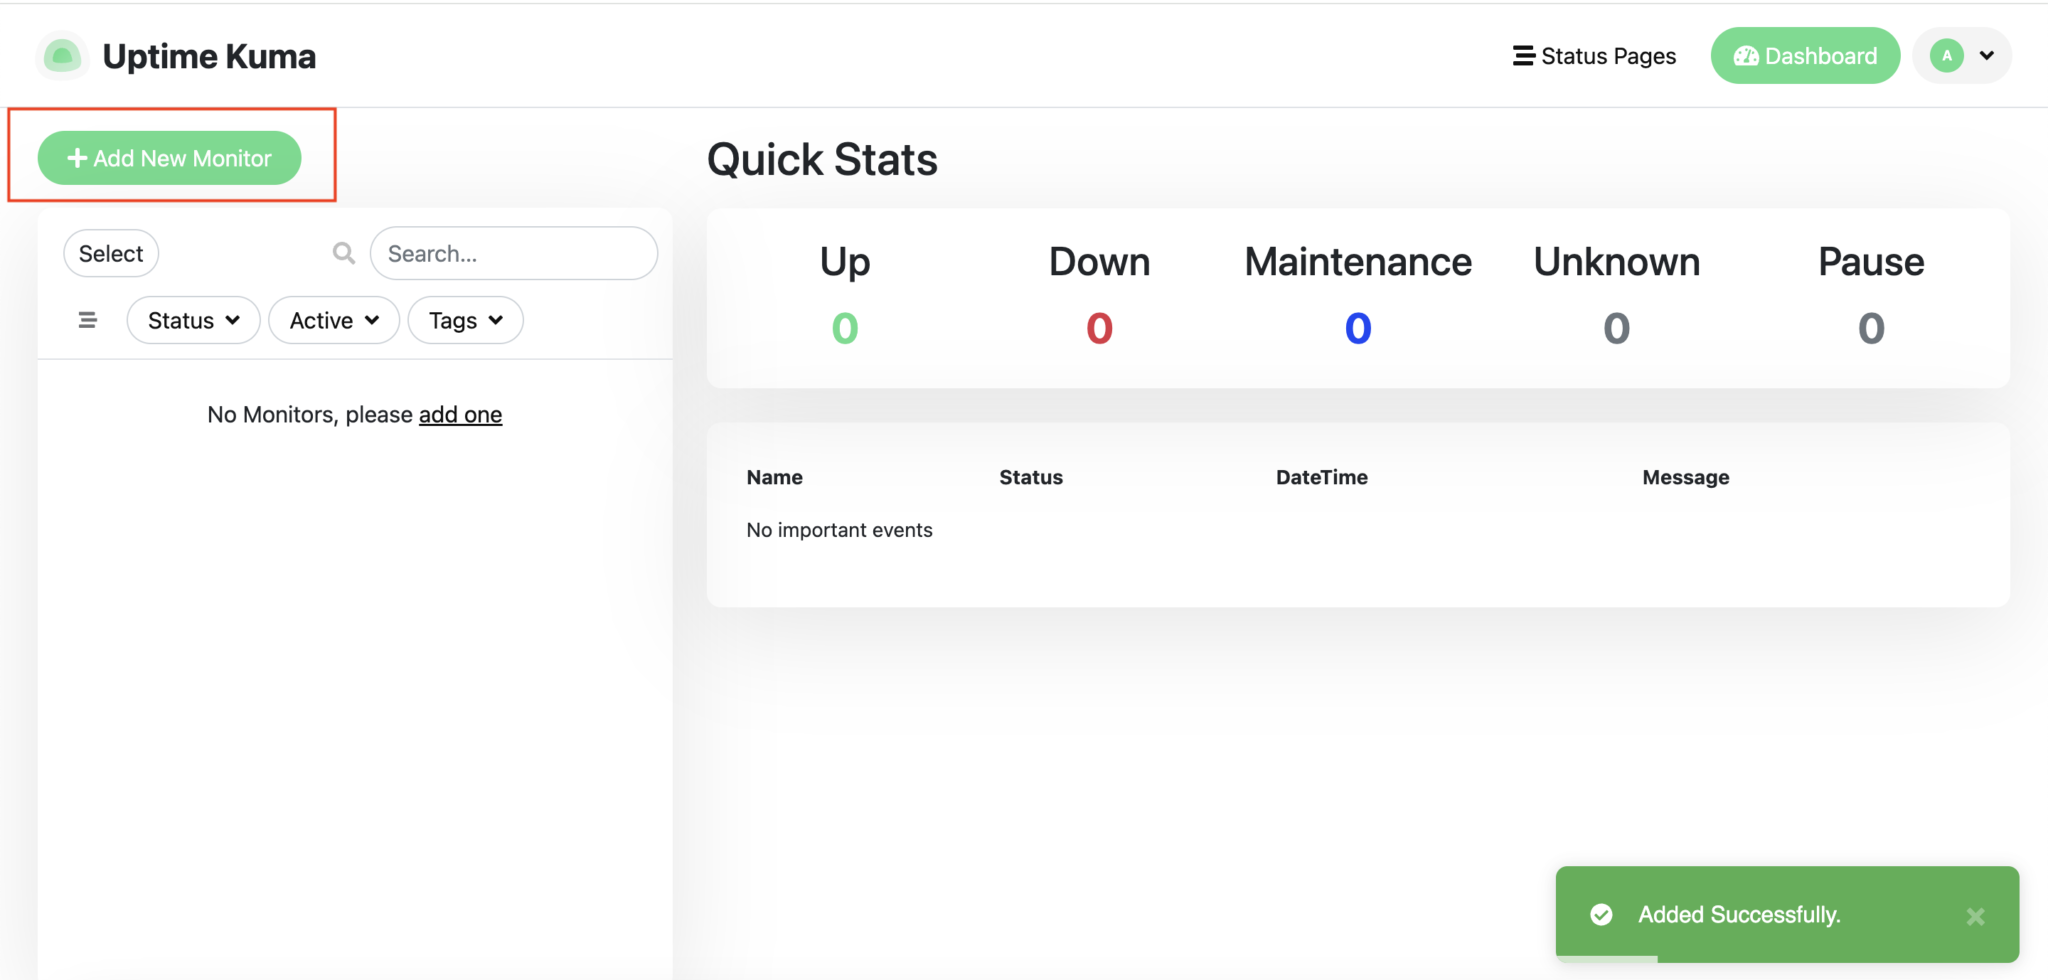
I usually start by monitoring my main website. Click "Add New Monitor", and you'll see how intuitive it is. You can set up email notifications too - super helpful for catching issues before your users do!
 Pro Tip: Start with monitoring just a few crucial services. You can always add more later, but it's better to get comfortable with the basics first.
And that's it! You've got your own professional monitoring setup running. I've been using this exact configuration for months now, and it hasn't let me down. Feel free to experiment with different notification methods and monitoring intervals to find what works best for you.
Have you tried Uptime Kuma before? I'd love to hear about your experience. And if you run into any issues, just use the contact and send me an email - I'm happy to help!