Easy Deploy Memcache Using Docker

Posted by NetworkWhois on
Hey fellow developers! 👋 After optimizing dozens of web applications, I've found that Memcache continues to be my go-to solution for boosting performance. Today, I'm sharing my hands-on experience with deploying Memcache using Docker - a combination that's been a game-changer for my development workflow.
🚀 Quick Win: Using Docker for Memcache deployment has cut my setup time from hours to minutes. Trust me, your future self will thank you for this!Why Docker + Memcache is My Favorite Combo
After years of managing caching systems, here's why I swear by this setup:
- Zero Configuration Headaches: Remember the days of wrestling with system dependencies? Docker eliminates all that nonsense.
- Works Everywhere: I've deployed this setup on everything from my MacBook to AWS instances - it just works.
- Scale When You Need It: Need more caching power? Spin up another container, and you're good to go.
Before We Start
You'll need Docker installed on your machine. If you haven't done that yet, check out the Docker installation guide first.
Let's Get Started!
1. Grab the Memcache Image
First things first, let's pull the official Memcache image:
docker pull memcached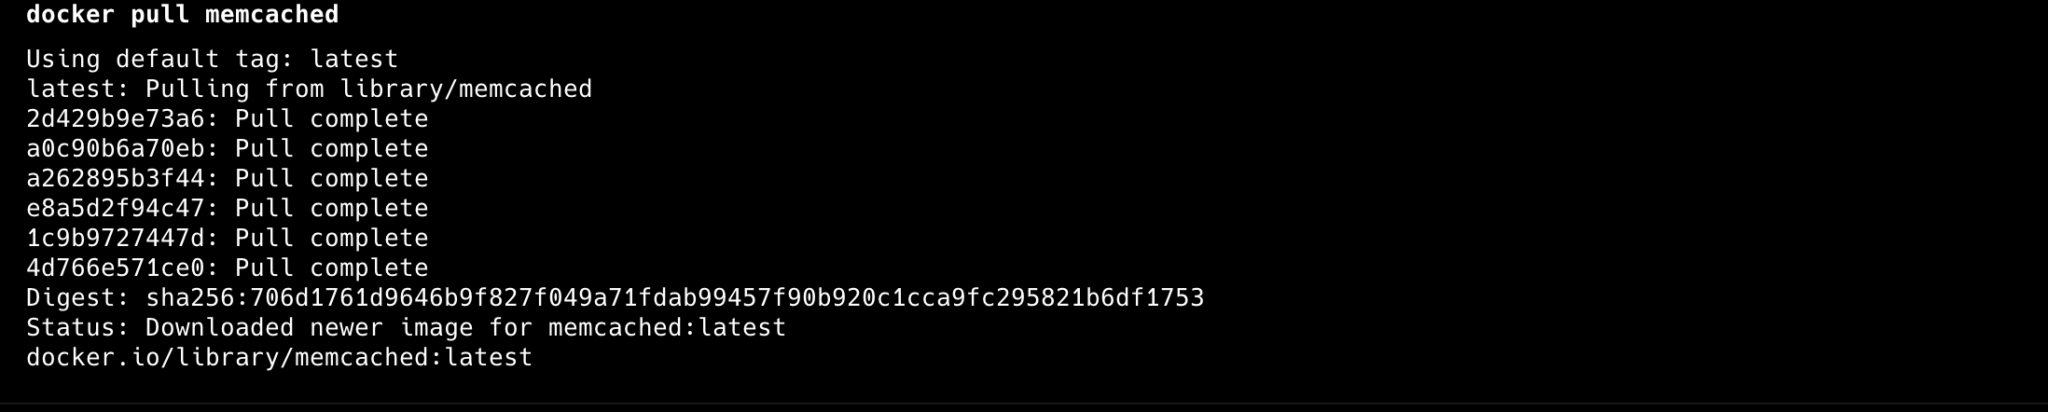 💡 Pro Tip: I always use the official image because it's regularly updated with security patches and performance improvements.
2. Fire Up Your Memcache Container
Here's the command I use to start Memcache with sensible defaults:
docker run -d --name memcache -p 11211:11211 memcached
Let me break down why I chose these options:
-d: Runs in the background (because who wants a terminal window just for Memcache?)--name memcache: Gives it a friendly name I can reference later-p 11211:11211: Maps the default Memcache port
3. Check If It's Working
Let's make sure everything's running smoothly. I use this command to check the container status:
docker ps | grep memcache

4. Quick Test Drive
Time for a quick test! Connect using telnet:
telnet localhost 11211

Try these commands to store and retrieve some data:
    set test 0 900 5
    hello
    STORED

    get test
    VALUE test 0 5
    hello
ENDdocker ps. I've lost count of how many times this simple check has saved me!
5. Cleanup (When You Need It)
When you're done experimenting, here's how to clean up:
    docker stop memcache
    docker rm memcache
What's Next?
Now that you've got Memcache running in Docker, here are some things I recommend exploring:
- Try adjusting memory limits for your specific needs
- Set up monitoring (I use Prometheus + Grafana)
- Create a docker-compose file if you're using multiple services
Have you tried this setup? I'd love to hear about your experience in the comments below. And if you run into any issues, drop a question - I'm always happy to help fellow developers!