How to Install WordPress using Docker Compose

Posted by NetworkWhois on
The Pre-Docker Compose Struggle
Before Docker Compose, setting up WordPress felt like trying to assemble IKEA furniture without the instructions. Manual configurations, dependency headaches, and endless troubleshooting sessions were the norm. But then, Docker Compose came along and changed everything.
Why Docker Compose is a Game-Changer
Docker Compose is like having a personal assistant for your development workflow. It automates the boring stuff, so you can focus on what really matters: building awesome things. Here’s why it’s magical:
- 🚀 One-Command Setup: Spin up your entire stack with a single command.
- 🧩 Modular Configuration: Easily tweak settings without breaking a sweat.
- 🔒 Isolated Environments: No more "it works on my machine" excuses.
- 📦 Portable: Take your setup anywhere Docker is supported.
What You’ll Need
Before we dive in, let’s make sure you’ve got the essentials:
- ☁️ Docker Installed: If you don’t have it yet, check out this guide to get it set up.
- 💻 Docker Compose: Your new best friend for managing multi-container apps.
- ☕ Coffee: Optional, but highly recommended.
Step 1: Create Your Docker Compose File
First things first, let’s create a docker-compose.yml file. This is where the magic happens. Open your favorite text editor and paste the following:
version: '3'
services:
  wordpress:
    image: wordpress
    ports:
      - "80:80"
    environment:
      WORDPRESS_DB_HOST: db
      WORDPRESS_DB_USER: exampleuser
      WORDPRESS_DB_PASSWORD: examplepass
      WORDPRESS_DB_NAME: exampledb
    volumes:
      - wordpress:/var/www/html
  db:
    image: mysql:5.7
    environment:
      MYSQL_DATABASE: exampledb
      MYSQL_USER: exampleuser
      MYSQL_PASSWORD: examplepass
      MYSQL_RANDOM_ROOT_PASSWORD: '1'
    volumes:
      - db:/var/lib/mysql
volumes:
  wordpress:
  db:
Pro Tip: Replace exampledb, exampleuser, and examplepass with your own credentials. Keep them secure!
Step 2: Fire Up Docker Compose
Once your docker-compose.yml file is ready, open your terminal and navigate to the directory where the file lives. Then, run this command:
docker-compose up -d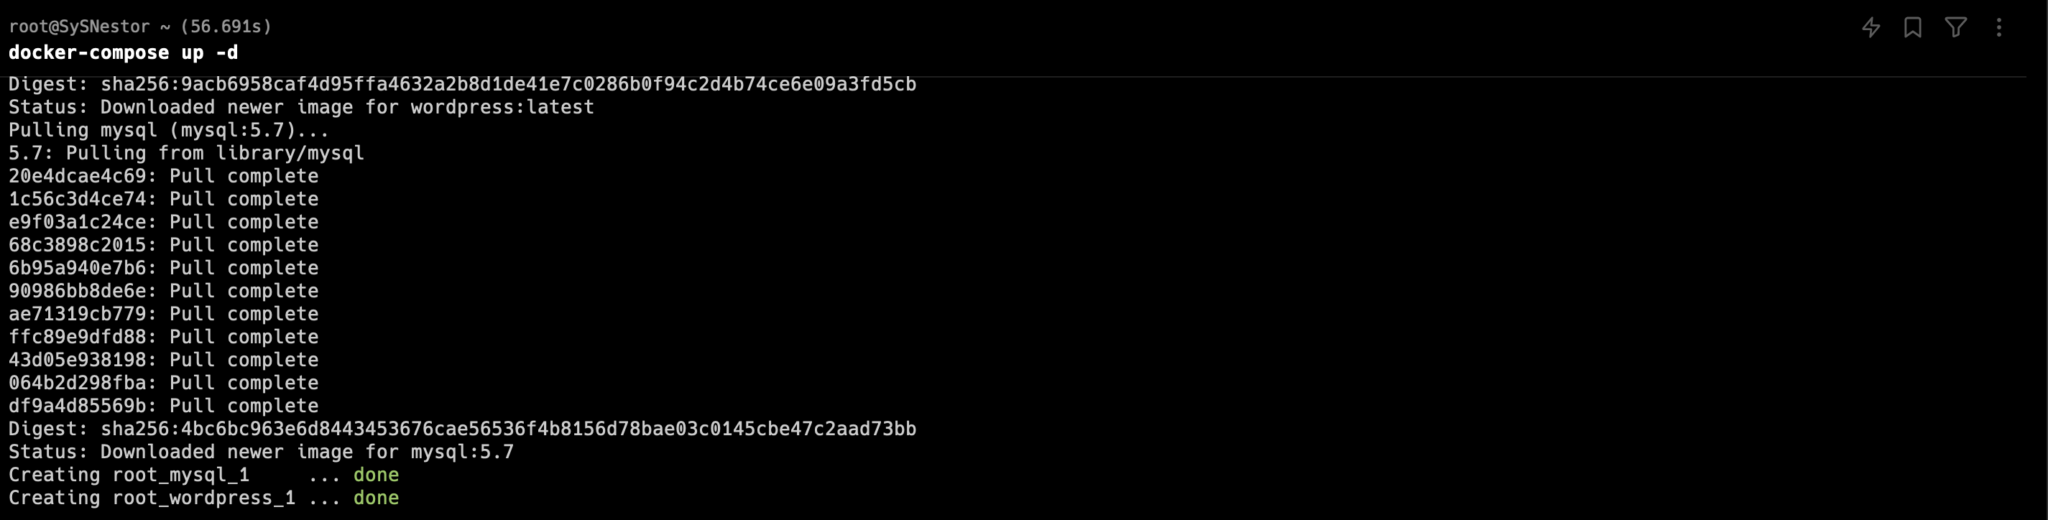
This command will start your WordPress and MySQL containers in the background. Sit back, relax, and let Docker Compose do the heavy lifting.
Step 3: Complete the WordPress Setup
Once the containers are up and running, open your browser and head to http://server-ip. You’ll be greeted by the WordPress setup wizard. Fill in the details, click "Install WordPress," and you’re done!

Why This Setup Rocks
Here’s the beauty of this setup: it’s not just functional—it’s flexible. Need to tweak the MySQL version? Add more plugins? Scale your WordPress instance? Docker Compose makes it all possible with minimal effort.
When Things Go Wrong (Because They Will)
If something doesn’t work as expected (hey, it happens to the best of us), Docker Compose has your back. Just run:
docker-compose logsThis will show you detailed logs, making it easy to pinpoint and fix any issues.
Final Thoughts
Docker Compose isn’t just a tool—it’s a lifesaver. It simplifies the deployment process, saves you time, and lets you focus on what really matters: building awesome stuff. Whether you’re a seasoned developer or just starting out, this setup will make your life so much easier.
So go ahead, give it a try, and let me know how it goes. Happy coding! 🚀